How to Install Sliding Closet Doors: Full Guide
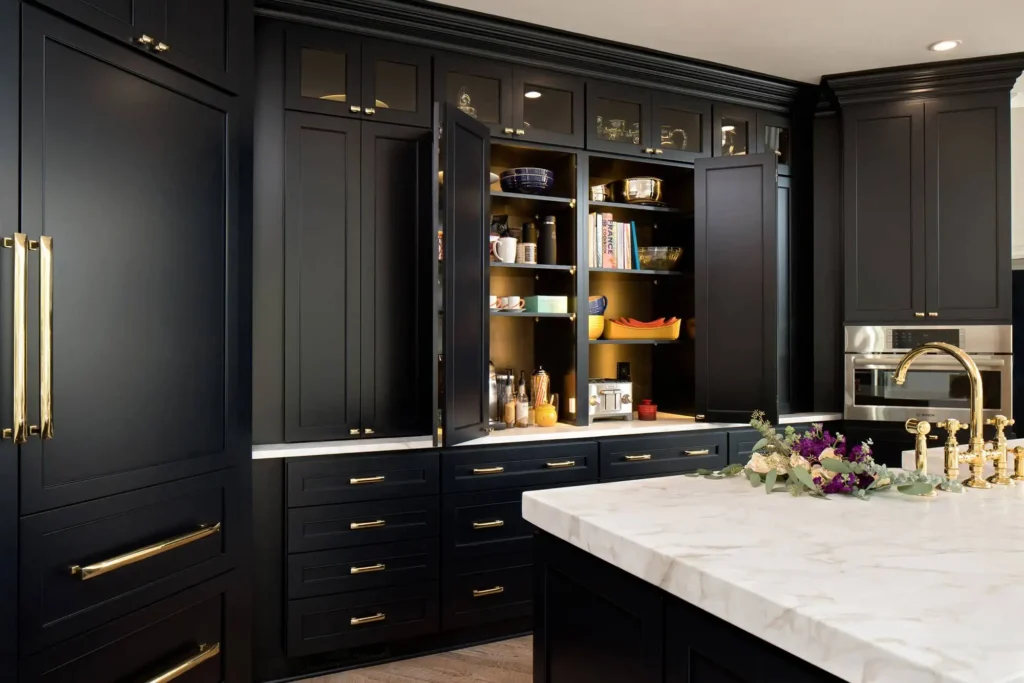
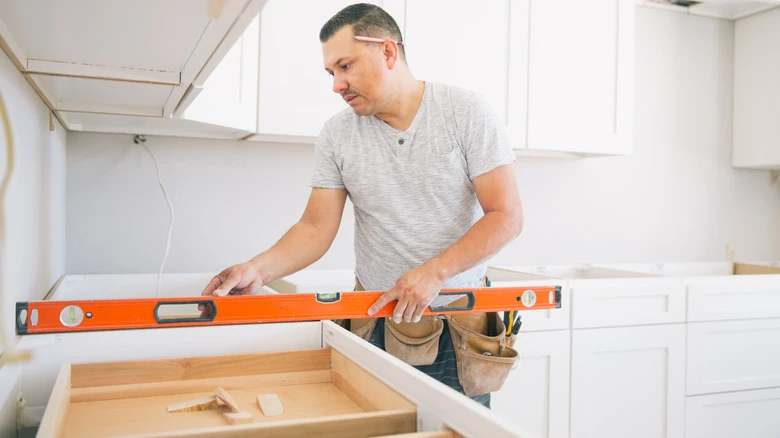
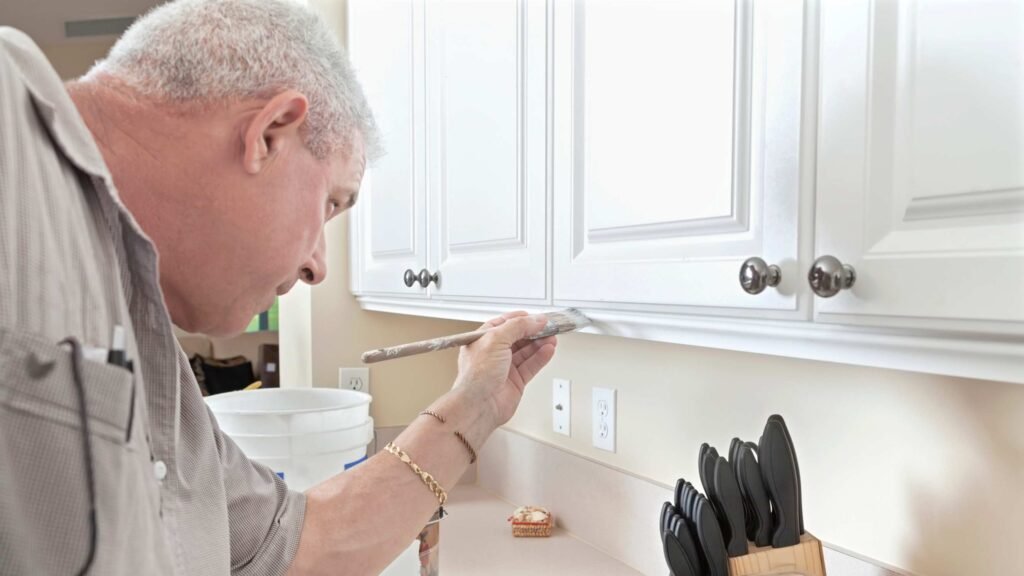
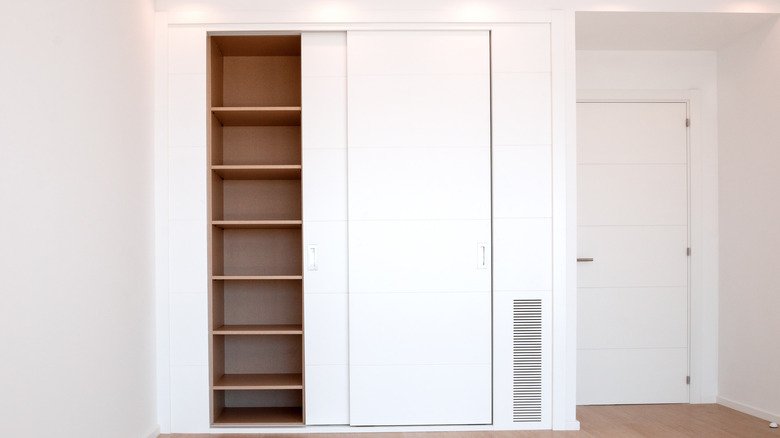
Sliding closet doors are one of those home upgrades that look complicated but are actually very manageable with the right guide. They save floor space, give any room a cleaner look, and hold up well for years when installed correctly. Most homeowners with basic DIY skills can get this done in a few hours. Learning how to install sliding closet doors doesn’t require a contractor. You need the right tools, the right measurements, and a clear process to follow. This guide walks you through every step from picking the right door to making final adjustments so it glides perfectly. What Are Sliding Closet Doors? Sliding closet doors are panels that move horizontally along a track rather than swinging open on hinges. They mount on an overhead track at the top and a guide channel or roller at the floor. They come in several styles: Bypass doors — Two or more panels that slide past each other on separate tracks. The most common style for standard closets. You can access one side at a time. Barn doors — A single large panel that slides to one side. Mounted on an exposed track above the opening. Popular in modern and farmhouse-style rooms. Pocket doors — Slide into the wall itself. Require wall modification but completely disappear when open. Bifold sliding doors — Panels that fold while sliding. Common in laundry closets and smaller spaces. For most bedroom closets, bypass doors are the practical choice. They work with almost any opening size and require no wall modifications. Why Choose Sliding Closet Doors? There are real reasons sliding doors have stayed popular for decades. Space savings. Swing-out doors need clearance in front of the closet. Sliding doors need none. In smaller bedrooms, this matters a lot. Clean visual lines. Sliding doors sit flush with the wall or opening. They don’t interrupt the room’s flow the way hinged doors can. Easy access for wide openings. A standard 6-foot closet opening is awkward with hinged doors. Sliding panels handle wide openings naturally. Low maintenance. With a quality track system, sliding doors need almost no attention beyond occasional cleaning. Cost-effective upgrade. Compared to built-in wardrobe systems or custom cabinetry, sliding closet doors offer a major visual upgrade at a relatively low cost. Tools and Materials You’ll Need Before starting sliding closet doors installation, gather everything in one place. Stopping mid-project to find a tool wastes time and breaks focus. Tools: Tape measure Pencil or marking tool Level (4-foot level is ideal) Drill and drill bits Screwdriver (flathead and Phillips) Hacksaw or miter saw (to cut track if needed) Stud finder Safety glasses Materials: Sliding door panels (pre-hung kit or individual panels) Top track (usually included in kit) Bottom guide channel or floor rollers Mounting screws (usually included) Shims (for leveling, if needed) Wood filler or trim pieces (for finishing gaps) Door pulls or handles Most home improvement stores sell complete sliding door kits that include the track, rollers, guides, and hardware. Buying a kit makes the process much simpler than sourcing individual parts. Step-by-Step: How to Install Sliding Closet Doors This is where most articles fall short; they skip the details that actually matter. Here’s every step, explained clearly. Step 1: Measure the Opening Accurately Measure the width and height of the closet opening at three points each. Width: measure at the top, middle, and bottom. Height: measure at the left, center, and right. Use the smallest measurement for each. Closet openings are rarely perfectly square. Standard bypass doors come in widths from 48 to 96 inches. If your opening doesn’t match a standard size, you may need to trim the doors or add casing. Write down: opening width, opening height, and door panel thickness. You’ll need all three when ordering or buying. Step 2: Choose and Prepare Your Doors For installing sliding closet doors, door material matters. Common options: Mirrored panels — Add light and the illusion of space. Heavier; need a sturdy track. Wood or MDF panels — Classic look. Paintable. Lightweight. Frosted glass — Modern feel. Requires careful handling. Louvered panels — Allow airflow. Good for bedrooms and linen closets. If your doors arrived pre-assembled, check them for damage before installation. If they came flat-packed, assemble them per the manufacturer’s instructions before moving to the next step. Step 3: Install the Top Track The top track carries almost all the door’s weight. Getting this right is critical. Find the studs above the opening using a stud finder. Mark them with a pencil. If the track spans between studs, use appropriate wall anchors at non-stud positions. Cut the track to match the opening width, if needed. Use a hacksaw for aluminum tracks. Deburr the cut edge with a file so it doesn’t catch on rollers. Hold the track in position against the header (the horizontal board at the top of the opening). Use a level to confirm it’s straight. Mark the screw hole positions on the wall or header. Drill pilot holes at the marked positions. Drive screws through the track into the studs. Don’t overexert yourself. Check level one more time after screwing in. Step 4: Attach Rollers to the Door Panels Most sliding closet doors installation kits include top-mounted roller brackets. These clip or screw onto the top edge of each door panel. Check the manufacturer’s instructions for exact placement. Rollers are usually positioned a few inches from each end of the door. Some kits use adjustable rollers that let you raise or lower the door after hanging; these are worth the slight extra cost. Attach the rollers firmly. Loose rollers cause wobbling and jumping off the track. Step 5: Hang the Doors on the Track This step is easier with two people. One person holds the door; the other guides the rollers onto the track. Tilt the door panel at an angle. Lift the top rollers into the track channel. Once seated, lower the door to vertical. The rollers should roll freely. Repeat for the second (and third, if applicable) panel.