
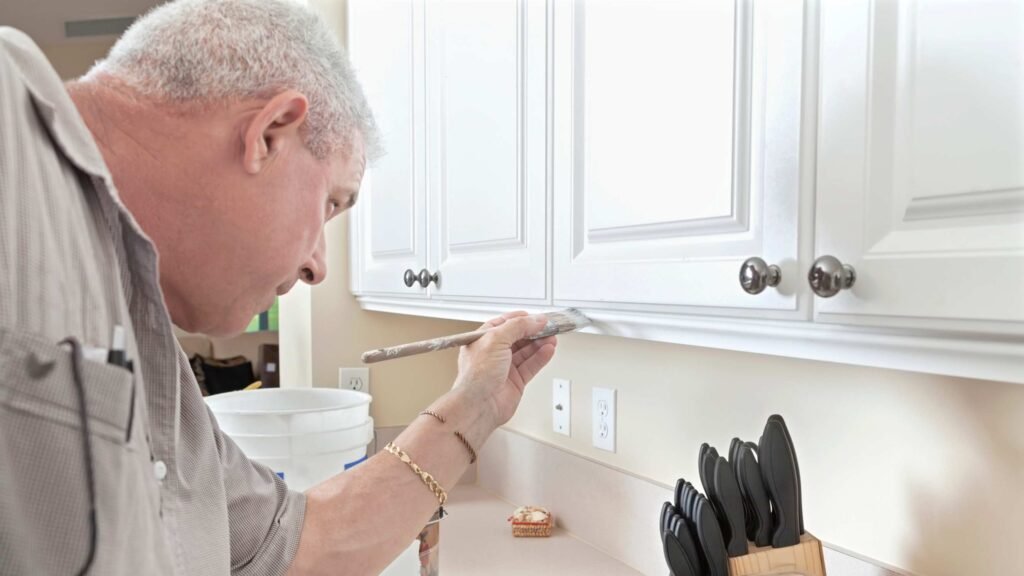

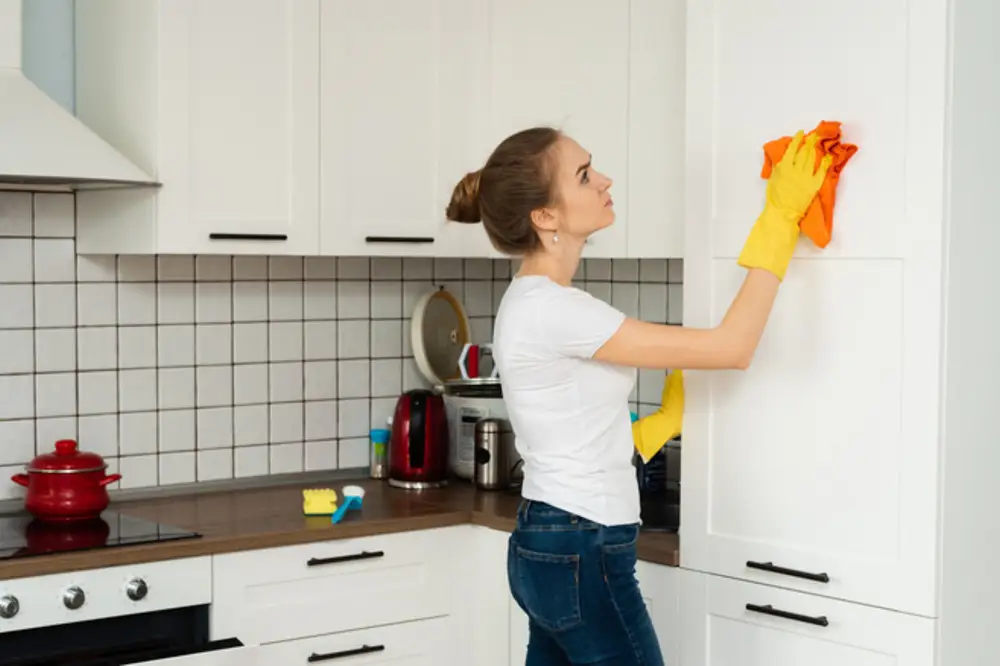
Your bathroom vanity takes a beating every single day. Water, steam, and daily use leave it looking worn and dated. The good news? You don’t need to spend thousands on a replacement. A fresh coat of paint can make it look brand new, and you can do it yourself over a weekend.
Learning how to paint a bathroom vanity is easier than most people think. With the right prep work, the right products, and a little patience, you’ll get a finish that holds up for years. This guide walks you through every single step, from removing the hardware all the way to reinstalling the doors.
Why Paint a Bathroom Vanity Instead of Replacing It
A new vanity costs anywhere from $300 to $2,000 or more, and that’s before installation. Painting a bathroom vanity cabinet runs about $50 to $150 in materials. That’s a massive difference.
Beyond cost, painting gives you total control over the color and finish. Want matte navy? Done. A warm white that matches your tile? Easy. You’re not stuck choosing from whatever the store has in stock.
There’s also the environmental side. Replacing a functional vanity sends perfectly good wood or MDF to a landfill. Painting it gives it a second life.
Here are the main reasons homeowners choose to paint instead of replace:
- Cost savings of 80% or more compared to replacement
- Complete control over color and finish
- Project typically done in one weekend
- No need to hire a contractor
- Less waste and disruption to your home
Tools and Materials You’ll Need
Getting the right supplies before you start makes a big difference. Don’t try to skip the primer or grab a cheap brush. The prep and materials are what separate a professional-looking painted bath vanity from a messy one that chips in six months.
Tools
- Screwdrivers (flathead and Phillips)
- Sanding block or orbital sander
- 120-grit and 220-grit sandpaper
- Tack cloth or microfiber cloths
- Painter’s tape
- Drop cloth or plastic sheeting
- High-density foam roller (4-inch)
- Angled synthetic bristle brush (2-inch)
- Small container for paint
- Putty knife
Materials
- TSP substitute cleaner or degreaser
- Wood filler or spackling compound
- Bonding primer (shellac-based or oil-based)
- Cabinet or trim paint (latex or alkyd)
- Clear topcoat or polyurethane (optional but recommended)
- Mineral spirits or paint thinner (if using oil-based products)
Quick tip: For a painted bathroom vanity cabinet, always choose a paint labeled for cabinets or trim. Regular wall paint is too soft and will scratch easily in high-moisture areas.
Preparing the Bathroom Vanity
This is where most DIYers cut corners, and it always shows later. Good prep work is the foundation of a finish that actually lasts.
Remove Doors, Drawers, and Hardware
Take off all cabinet doors and drawer fronts. Remove hinges, knobs, and pulls. Label everything with painter’s tape and a marker so you know exactly what goes where during reassembly.
Lay the doors flat on your drop cloth in a well-ventilated space. Painting them flat prevents drips and gives you a much smoother finish.
Set Up Your Work Area
Cover the floor, sink, and countertop with plastic sheeting. Use painter’s tape to protect the wall edges, mirror frame, and any hardware you can’t remove. Good masking saves you an enormous amount of cleanup later.
Cleaning and Sanding the Surface
A clean surface is a must. Any grease, soap residue, or grime will prevent the primer from sticking properly.
Mix TSP substitute with warm water and scrub every surface you plan to paint. Pay special attention to around the handles and near the sink where buildup is worst. Rinse with clean water and let everything dry completely, at least an hour.
Once dry, sand the entire surface with 120-grit sandpaper. You’re not trying to strip the finish. You just want to scuff it up so the primer has something to grip. Sand with the grain on wood. On MDF or laminate, use light circular motions.
After sanding, wipe everything down with a tack cloth. This removes the fine dust that would otherwise get trapped under your paint and create a bumpy, rough finish. Don’t skip this step.
Repairing and Filling Imperfections
Now that the surface is clean and scuffed, take a close look at it. Look for dings, gouges, old hardware holes you’re not using, or any cracks.
Fill these with wood filler or spackling compound using a putty knife. Apply a small amount, press it in firmly, and scrape off the excess. Let it dry completely per the product label directions.
Once dry, sand those filled spots smooth with 120-grit, then finish with 220-grit for a seamless surface. Wipe with a tack cloth again before moving to the primer.
Priming the Vanity
Do not skip the primer. This is probably the single most important step when painting a bathroom vanity.
In a high-humidity environment like a bathroom, standard paints will peel without a strong bonding base. Use a shellac-based primer like Zinsser BIN or an oil-based bonding primer for the best adhesion on wood, MDF, or laminate surfaces.
Apply the primer with a foam roller on flat surfaces and a brush on edges and details. Work in thin, even coats. One coat of primer is usually enough, but if you’re painting over a dark stain or raw MDF, two coats gives better coverage and block-out.
Let the primer dry fully. Check the label, but most need at least an hour before sanding. Once dry, lightly sand with 220-grit sandpaper to knock down any bubbles or brush marks. Wipe with a tack cloth.
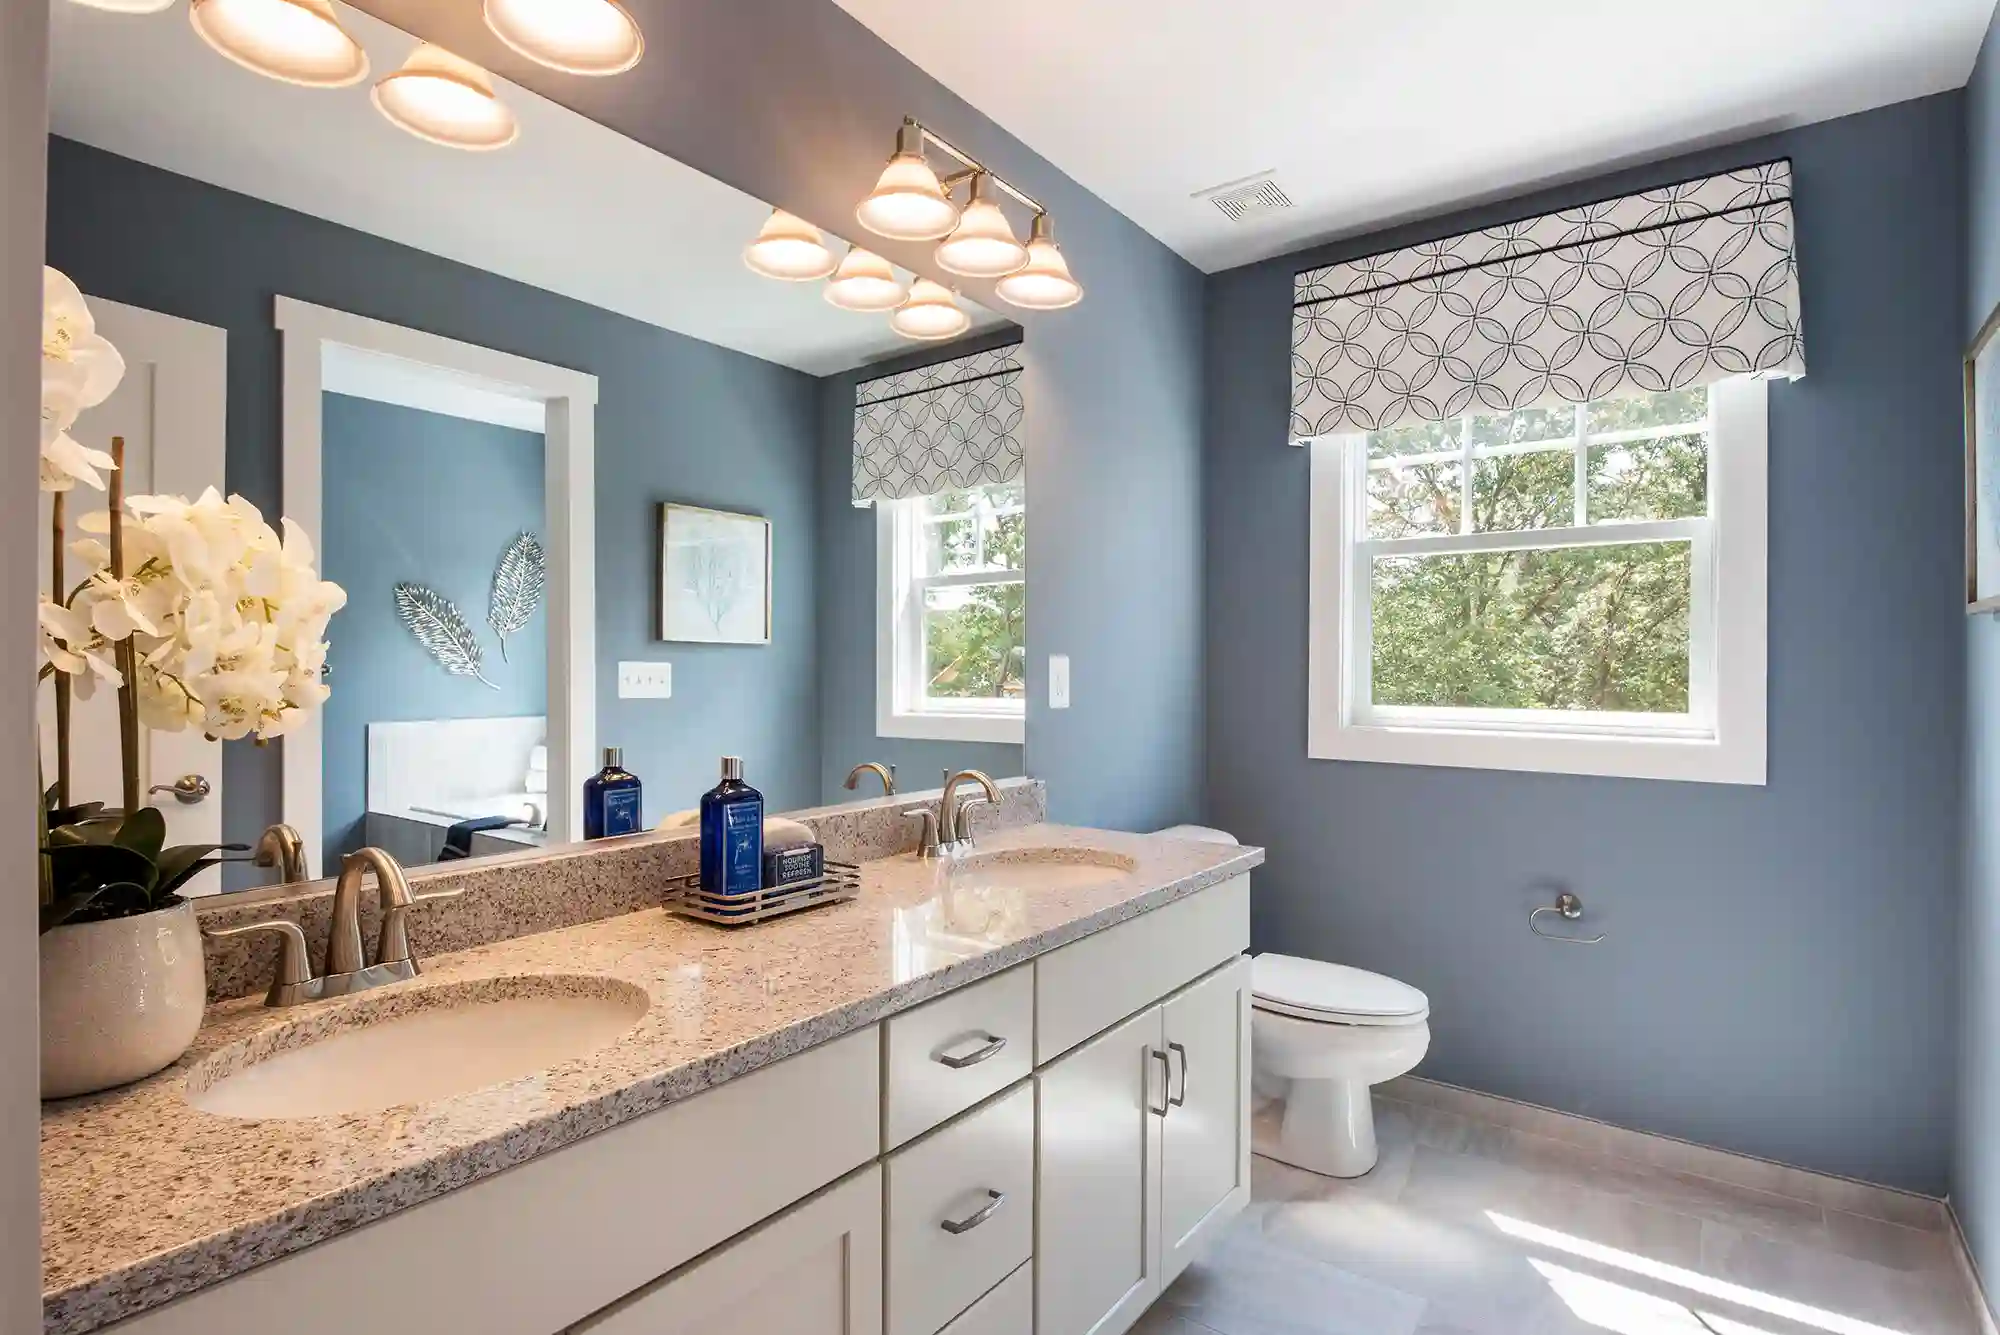
Choosing the Right Paint
The paint you choose matters as much as the prep work when you’re painting bathroom vanity cabinets.
You have two main choices: alkyd (oil-based) or waterborne alkyd (hybrid). Both cure to a hard, durable finish that holds up to moisture and daily cleaning.
- Benjamin Moore Advance (waterborne alkyd) – levels out beautifully, very hard finish
- Sherwin-Williams Emerald Urethane Trim Enamel – excellent for high-moisture areas
- Regal Select (by Benjamin Moore) – great for a satin or semi-gloss look
Avoid standard latex wall paint. It stays soft and will dent, scratch, and chip in a bathroom setting.
For sheen, semi-gloss is the most popular choice for painting bathroom vanity cabinets. It’s easy to wipe clean and reflects light well. Satin is a good option if you want a softer look that still holds up to moisture.
Step-by-Step: How to Paint a Bathroom Vanity
Now that everything is prepped and primed, it’s time to paint. Here’s how to do it right.
Step 1: Stir Your Paint
Stir the paint thoroughly before opening it. Do not shake the can. Shaking creates bubbles that end up in your finish. Stir slowly for about one minute until the paint is fully mixed.
Step 2: Paint the Cabinet Box First
Start with the inside edges, corners, and any recessed areas using your 2-inch angled brush. Then roll the flat surfaces with your foam roller. Work in one direction and keep a wet edge to avoid lap marks.
Step 3: Paint the Doors and Drawer Fronts
Lay the doors flat. Paint the back side first, let it dry, then flip and paint the front. This ensures the show surface gets the cleanest coat. Use your brush on the edges and roller on the flat panels.
Apply paint in thin coats. A thick coat looks faster, but it leads to drips, slow drying, and a finish that never gets fully hard.
Step 4: Watch Your Brush Marks
When painting bathroom vanity cabinet doors, always finish each section with light strokes in one direction. This lays the paint down smoothly and reduces visible brush marks. Foam rollers leave a very slight orange-peel texture, which most people find appealing because it hides imperfections.
You can read about: How to Build a Bathroom Vanity
Applying Additional Coats
Two coats of paint is the minimum for a durable finish. Three coats is ideal, especially in a bathroom.
After the first coat dries (check the label, usually 2 to 4 hours), lightly sand with 220-grit sandpaper. This knocks down any dust nibs or brush marks. Wipe clean with a tack cloth, then apply the second coat.
Between every coat, that light sanding step is what gives you a glass-smooth finish. It feels like extra work, but the result is a professional painted bath vanity that you’d swear came from a cabinet shop.
Drying and Curing Time
This is where patience pays off. Paint dries and cures at different rates, and many people confuse the two.
Dry time refers to when the paint is no longer tacky and you can touch it without leaving a mark. This usually takes 2 to 4 hours per coat.
Cure time is when the paint reaches its full hardness and durability. For most cabinet paints, this takes 7 to 30 days depending on the product and temperature.
You can reassemble your vanity after 24 to 48 hours. But handle it gently for the first 2 to 3 weeks. Avoid harsh cleaners and scrubbing during the curing period.
One common question is how long does it take to paint kitchen cabinets or bathroom vanities from start to finish. The total project time is typically 2 to 3 days. Day one is prep and priming. Day two is painting. Day three is reassembly after paint has cured enough to handle.
Reassembling the Vanity
Before you reinstall anything, inspect each piece. Look for drips, thin spots, or bare edges that need a touch-up. Touch those up with a brush and let them dry fully.
When rehinging the doors, take your time. Cabinet hinges have adjustment screws that let you move the door up, down, left, and right for a perfect fit. Take 5 minutes to adjust them properly. Doors that sit crooked or rub against each other will show off all your hard work in the wrong way.
Install new hardware if you’re upgrading. Fresh brushed nickel or matte black pulls can completely change the feel of the vanity without adding much cost.
Tips for a Smooth, Professional Finish
These are the details that separate a DIY job from a professional-quality painted bath vanity.
- Always work in a room with good ventilation. Fumes and moisture both affect dry time and finish quality.
- Keep your painting environment between 65 and 75 degrees Fahrenheit. Cold or hot temperatures mess with high paint levels and dries.
- Use a light source at a low angle while painting. This shows up every run, drip, or missed spot before it dries.
- Pour paint into a separate container rather than painting straight from the can. This keeps your paint clean and prevents contamination.
- Replace your foam roller cover between coats for the smoothest finish.
- If a drip dries, don’t try to brush it out. Wait until fully dry, sand it smooth, and repaint.
If you’re not confident doing this yourself or you have a large vanity with complex details, consider reaching out to a professional. Our team at Prestigious Custom Cabinets offers Kitchen Cabinets Painting Services in North Lindenhurst and surrounding areas. We bring the same expert prep, premium products, and clean results to bathroom vanities as we do to full kitchen transformations.
Common Mistakes to Avoid
Learning how to paint a vanity the right way also means knowing what not to do.
Skipping the primer. This is the number one reason painted bathroom vanity cabinets peel. Always prime, especially in a humid bathroom environment.
Using the wrong paint. The wall paint is too soft. Use a paint made for cabinets or trim.
Not sanding between coats. Skipping this step leaves a rough, bumpy finish instead of the smooth surface you’re after.
Rushing the dry time. Putting doors back on too early causes the paint to stick, peel, and scratch. Wait at least 24 to 48 hours before reassembling.
Painting in a cold or humid room. Paint won’t cure properly if the temperature is too low or if the bathroom is steamy. Open a window and run a fan.
Applying thick coats. Two thin coats always beat one thick coat. Thick coats sag, drip, and take forever to cure properly.
Forgetting to sand filler spots. Filled imperfections need to be sanded perfectly flat or they’ll show up as bumps under the finish.
Conclusion
Painting a bathroom vanity is one of the highest-return DIY projects you can take on. For under $150 in materials and a weekend of work, you can completely transform how your bathroom looks and feels.
The key is doing the prep right. Clean thoroughly, sand properly, use a bonding primer, and choose a paint made for cabinets. Follow these steps for painting bathroom vanity surfaces and you’ll get a finish that looks professional and holds up for years.
Whether you’re going from builder-grade oak to sleek painted navy or freshening up an already-painted bath vanity, the process is the same. Take your time, stay patient during the cure phase, and you’ll be thrilled with the result.
FAQs
Do I need to sand a bathroom vanity before painting?
Yes. Sanding scuffs up the existing finish so the primer can bond properly. Skip it and the paint will peel. Use 120-grit to roughen the surface, then 220-grit to smooth it before applying primer.
What is the best paint for a bathroom vanity cabinet?
Use a waterborne alkyd or cabinet-specific paint. Benjamin Moore Advance and Sherwin-Williams Emerald Urethane Trim Enamel are both excellent. They cure hard and hold up to the moisture and cleaning a bathroom vanity takes.
How many coats of paint does a bathroom vanity need?
At minimum two coats of paint on top of primer. Three coats is ideal for a bathroom. Always lightly sand with 220-grit between coats and wipe clean before applying the next coat.
How long does it take to paint kitchen cabinets vs. a bathroom vanity?
A bathroom vanity typically takes 2 days from start to finish, including drying time. A full kitchen cabinet repaint can take 4 to 7 days. The process is the same for both. How long does it take to paint kitchen cabinets depends on the number of doors, drawers, and the prep condition of the existing finish.
Can you paint a bathroom vanity without removing the doors?
You can, but you’ll get a much better result by removing them. Painting doors flat eliminates drips, gives you full access to edges, and lets you apply even pressure with a roller. It’s worth the extra few minutes.
How do I prevent brush marks when painting a bathroom vanity?
Use a foam roller on flat surfaces and finish with light, even strokes in one direction with a brush on edges. Using a quality cabinet paint that self-levels, like Benjamin Moore Advance, also helps the marks flow out as the paint dries.
Should I use a topcoat on a painted bath vanity?
It’s optional but helpful in a bathroom. A water-based polyurethane or cabinet topcoat adds an extra layer of protection against moisture, cleaning products, and daily wear. Apply it the same way as your paint, in thin coats with light sanding between.