
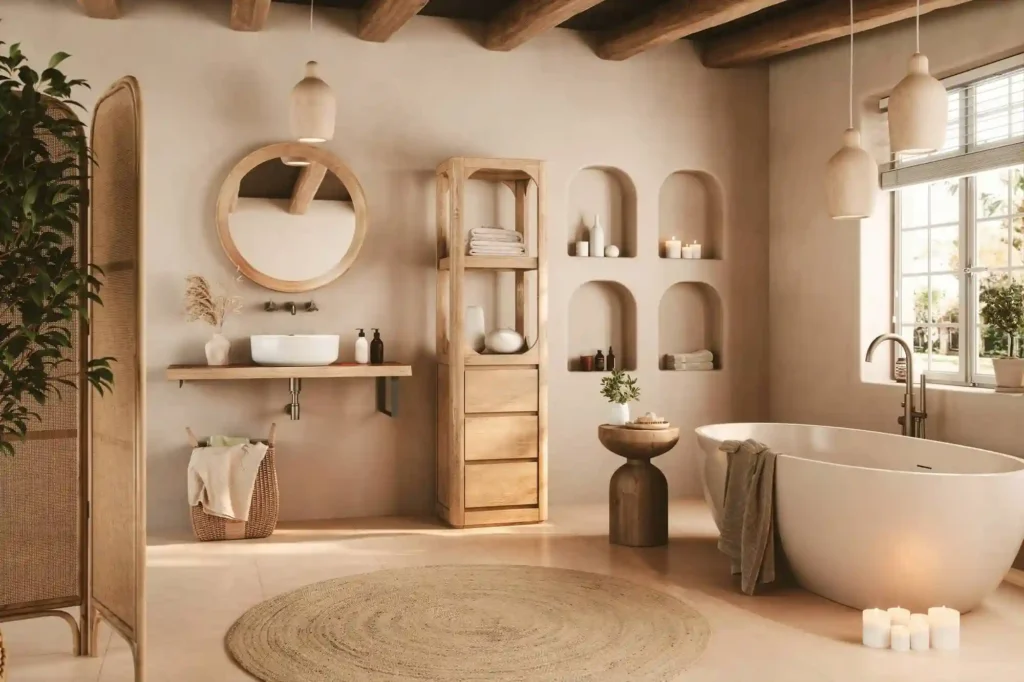
A bathroom vanity does two jobs: it stores your stuff and sets the tone for the whole room. Buying one off the shelf is easy, but it rarely fits your space or style perfectly. Building your own gives you full control over size, finish, and storage.
If you want to know how to build a bathroom vanity from scratch, this guide walks you through every step. No fluff, no guesswork, just clear instructions that work.
Step 1: Plan Your Bathroom Vanity
Before you cut a single board, measure your bathroom. Write down the width, height, and depth you need. Most vanities are 21 to 24 inches deep and 32 to 36 inches tall.
Ask yourself:
- Do you want drawers, doors, or open shelves?
- Will you use a drop-in or undermount sink?
- What finish matches your bathroom tile and fixtures?
Sketch a simple drawing with dimensions. This saves you time and money later. If you want to design your own bathroom vanity, this planning step is where it all begins.
Pro tip: Add 1.5 inches to your height for the countertop thickness.
Gather Tools and Materials
You do not need a full woodworking shop. Here is what you need:
Tools:
- Circular saw or miter saw
- Drill and drill bits
- Pocket hole jig (Kreg jig works great)
- Clamps
- Tape measure and square
- Sandpaper (80, 120, and 220 grit)
- Level
Materials:
- 3/4-inch plywood (birch or maple for a clean look)
- 1×3 or 1×4 boards for the face frame
- Wood screws and pocket screws
- Wood glue
- Cabinet hinges and drawer slides
- Sandable primer and paint or stain
Buy a little extra material. Mistakes happen, and you do not want to stop mid-build for a hardware store run.
Build the Vanity Frame
The frame is the skeleton of your vanity. Cut your plywood pieces to size: two side panels, a top, a bottom, and a back panel.
Use a pocket hole jig to join the pieces. This method is fast, strong, and beginner-friendly. Apply wood glue to each joint before driving the screws.
Steps:
- Cut all pieces according to your plan.
- Drill pocket holes on the inside edges.
- Attach the bottom panel to both side panels.
- Add the top panel the same way.
- Square up the box with a framing square.
- Glue and nail the back panel in place.
Check for squares at every step. A crooked box will cause problems with every step that follows.
Add the Face Frame
The face frame covers the raw edges of your plywood box. It gives your vanity a finished, furniture-grade look.
Cut 1×2 or 1×3 boards for the face frame pieces. You need two vertical stiles (the sides) and horizontal rails (top and bottom, plus any middle pieces).
Join them with pocket screws. Then glue and clamp the face frame to the front of your box. Pre-drill pilot holes to avoid splitting the wood.
Once it is dry, sand the joints flush. This is one of those steps that separates a good-looking vanity from a great one.
Install Shelves or Dividers
If your vanity has an open cabinet section, add a shelf. Cut a piece of plywood to fit inside the box. You can use shelf pin holes for an adjustable shelf drill two rows of evenly spaced holes on each side panel.
For vanities with two doors, a center divider adds strength and gives each side its own storage zone. Attach it with pocket screws from the top and bottom panels.
Keep shelves level. Use a level before drilling any holes.
Build and Attach Drawers (Optional)
Drawers take more time, but they make a vanity far more useful. Each drawer has five parts: a front, back, two sides, and a bottom.
Use 1/2-inch plywood for the box. Cut the pieces and join them with pocket screws and wood glue. The bottom panel slides into a dado (a groove cut into the sides) or simply glues to the bottom.
Install drawer slides before placing the drawer in the cabinet. Undermount slides look clean and work smoothly. Full-extension slides let you access the full depth of the drawer.
Attach a false drawer front last. This covers the drawer box and matches the door style.
Install Cabinet Doors
Measure the door opening carefully. Cut your door panels from 3/4-inch plywood or MDF. For a simple look, flat-panel doors work great. For something more detailed, add a routed profile around the edge.
Use soft-close concealed hinges. They are easy to install, easy to adjust, and they last for years. Most require a 35mm hole drilled into the back of the door; a Forstner bit makes this easy.
Hang the doors and adjust the hinges until the gap is even on all sides. Usually 1/8 inch all around looks clean and professional.
Sand and Finish
This step makes or breaks your project. Sand the entire vanity frame, doors, drawers with 120 grit first, then 220 grit. Wipe off all dust with a tack cloth.
For paint:
- Apply a sandable primer. Let it dry.
- Sand lightly with 220 grit.
- Apply two coats of semi-gloss or satin paint.
- Sand between coats with 320 grit for a smooth finish.
For stain:
- Apply a pre-stain conditioner on pine or poplar.
- Wipe on the stain, let it sit, and wipe off the excess.
- Finish with two coats of polyurethane.
The finish is what people notice first. Take your time here.
You can read about: How to Build Kitchen Cupboards
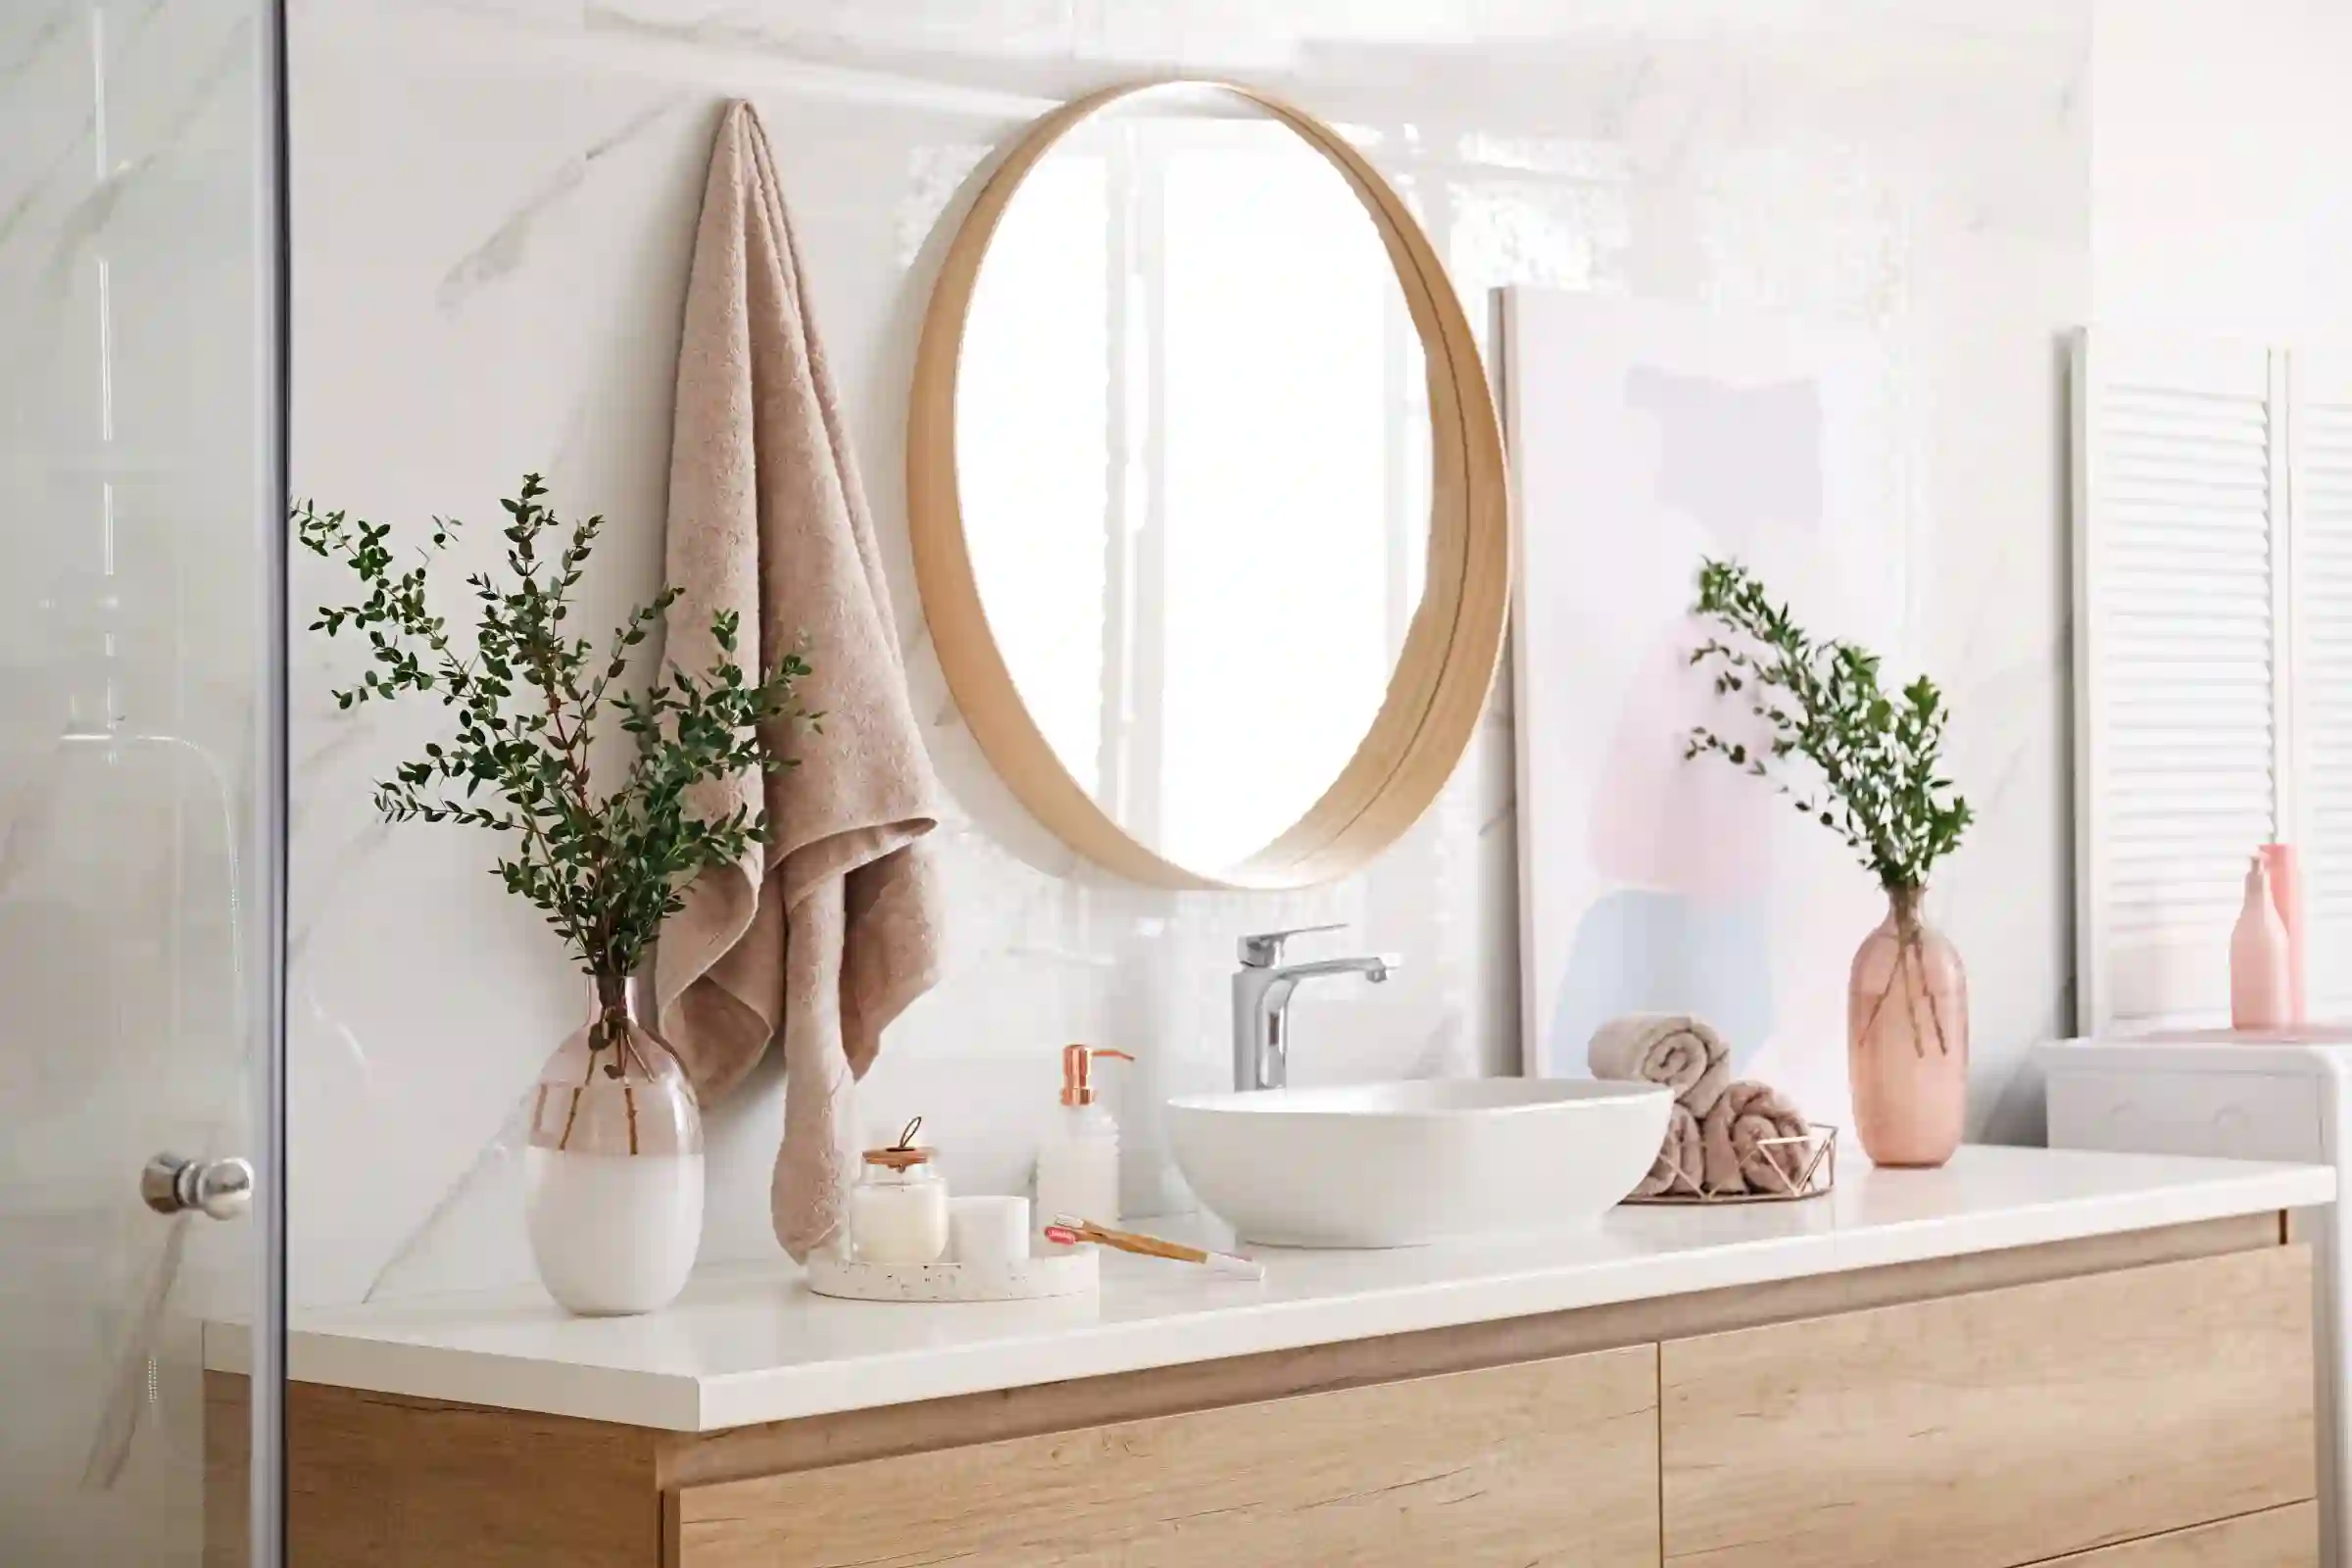
Install the Countertop and Sink
This is where your vanity starts to look like a real piece of furniture.
Countertop options:
- Butcher block (warm, DIY-friendly)
- Quartz or granite (durable, premium look)
- Tile (budget-friendly)
- Concrete (industrial, custom)
Cut a hole for the sink if using a drop-in model. Follow the template that comes with your sink. For an undermount sink, attach it from below with epoxy and mounting clips.
Apply silicone caulk around the sink and along the back edge of the countertop where it meets the wall. This keeps water out of the cabinet.
Mount the Vanity
This is the last step before you call it done. Turn off the water supply before moving anything near your plumbing.
Steps:
- Locate the wall studs with a stud finder.
- Set the vanity in place. Use shims to level it front-to-back and side-to-side.
- Drill through the back of the vanity into the studs.
- Drive 3-inch screws to secure it to the wall.
- Connect the supply lines to the faucet.
- Connect the drain.
- Turn the water back on and check for leaks.
Caulk the gap between the vanity and the wall. It keeps moisture out and gives a clean, finished look.
Common Mistakes to Avoid When Building a Bathroom Vanity
Even experienced woodworkers make these mistakes. Watch out for them:
- Skipping the square check. A box that is even slightly out of square will cause doors and drawers to fit poorly.
- Not sealing the inside of the cabinet. Bathrooms are humid. Prime and seal all surfaces, including inside the box, to prevent warping.
- Wrong drawer slide type. Side-mount and undermount slides have different install methods. Buy the right ones before you start.
- Rushing the finish. Drips and brush marks in the paint are hard to fix after assembly.
Conclusion
Building a bathroom vanity is a weekend project that pays off for years. You get exactly the size, style, and storage you need. And you get the satisfaction of making something with your own hands.
If you are in the area and want professional-grade results without the DIY hassle, check out Prestigious Custom Cabinets and their Bathroom Vanity Installation in Lindenhurst, NY service. They build custom vanities built to last.
Whether you build it yourself or hire a pro, a well-built vanity changes the whole feel of your bathroom.
FAQs
How long does it take to build a bathroom vanity?
Most beginners can finish in a weekend about 8 to 12 hours total, spread over two days.
What wood is best for building a bathroom vanity?
Plywood (birch or maple) is the most popular choice. It is strong, stable, and holds up in humid bathrooms better than solid pine or MDF alone.
How much does it cost to build your own bathroom vanity?
Materials typically run $150 to $400, depending on the size, wood type, and countertop. That is far less than buying a comparable vanity at a store.
Can a beginner build a bathroom vanity?
Yes. If you can use a drill and a saw, you can do this. The pocket hole jig makes joinery simple. Start with a basic single-door design if it is your first build.
Do I need to seal the inside of the vanity cabinet?
Yes. Always prime and seal the inside of the box. Bathroom humidity can warp unfinished wood over time. Two coats of primer is enough.
How do I create my own bathroom vanity design?
Sketch your design on paper first. Measure your space, pick your door style, and decide on storage layout. Then build to those specs. Making bathroom vanity plans before you cut saves a lot of wasted material.