
You can paint your kitchen cabinets to save thousands of dollars on a remodel while making your space look brand new. The process involves deep cleaning, sanding, priming, and applying two coats of high-quality enamel paint. Most homeowners finish this project in about four to seven days depending on the size of the kitchen.
Learning how to paint kitchen cabinets is the best way to get a custom look without the high cost of replacement. At Prestigious Custom Cabinets, we see how a fresh coat of paint transforms a dark room into a bright, modern space. It is a big job, but following the right steps ensures a smooth and durable finish.
Why Painting Kitchen Cabinets Is a Smart Upgrade
Replacing kitchen cabinets costs between $5,000 and $25,000 on average. Painting them costs a few hundred dollars in materials. The result? Cabinets that look brand new without the renovation budget.
Here’s why so many homeowners choose to repaint kitchen cabinets instead of replacing them:
- Major cost savings compared to full replacement
- Can be done over a weekend for smaller kitchens
- Hundreds of color options to match any style
- Increases home resale value and buyer appeal
- Eco-friendly no old cabinets going to a landfill
Tools and Materials You Need Before You Start
Before you touch a cabinet door, gather everything you need. Running out of supplies mid-project causes delays and uneven finishes.
Tools:
- Screwdriver (for removing doors and hardware)
- Sandpaper 120-grit and 220-grit
- Tack cloths
- Angled paintbrush (2.5 inch)
- Short-nap foam roller
- Paint sprayer (optional, for ultra-smooth results)
- Painter’s tape and plastic sheeting
Materials:
- Degreaser or TSP substitute cleaner
- Wood filler (for dings or holes)
- Bonding primer oil-based or shellac
- Cabinet-grade paint alkyd or water-based acrylic
- Drop cloths
Before You Start: Prepare Your Kitchen Properly
Prep work is where most DIYers cut corners. And it’s exactly where most paint jobs fail. Skipping this step leads to peeling, bubbling, and an uneven finish within months.
Clear out your kitchen as much as possible. Remove dishes, small appliances, and anything near the cabinets. Cover countertops, appliances, and floors with drop cloths. Good ventilation matters too, open windows and use a fan.
Plan for limited kitchen use during the project. Drying time between coats and curing time after finishing means your kitchen will be out of action for a few days.
How to Paint Kitchen Cabinets Like an Expert in 9 Steps
Follow these steps in order. Each one builds on the last. Rushing any of them will show in your final result.
Step 1: Remove Cabinet Doors, Drawers, and Hardware
Take off every cabinet door, drawer front, and piece of hardware. Label each door with masking tape so you know exactly where it goes back. Keep screws and hinges in labeled zip-lock bags. Painting cabinets in place leads to drips and missed spots.
Step 2: Clean Every Surface
Kitchen cabinets collect grease, cooking residue, and grime over time. Paint won’t stick to a dirty surface, it’s that simple. Use a degreaser or TSP substitute cleaner. Wipe every surface thoroughly, including the inside edges. Let everything dry completely before moving on.
Step 3: Fill Holes and Sand
Use wood filler to patch any dings, dents, or old hardware holes. Let it dry and sand smooth. Start with 120-grit sandpaper to rough up the surface, then finish with 220-grit for a smooth base. If you’re painting wooden kitchen cabinets, this step is especially important because wood grain can show through paint without proper prep.
Step 4: Wipe Down with a Tack Cloth
After sanding, dust is everywhere. Use a tack cloth to wipe every surface clean. This removes fine particles that would otherwise get trapped under primer or paint and create a rough, gritty finish.
Step 5: Apply a Bonding Primer
This is the step most beginners skip and the one that matters most. A bonding primer creates a surface that paint can actually hold onto. For laminate or previously painted cabinets, use shellac-based primer. For raw wood or MDF, oil-based primer works well. Apply a thin, even coat. Let it dry fully usually 24 hours before moving on.
Step 6: Lightly Sand the Primer
Once the primer dries, lightly sand with 220-grit paper. This removes any brush marks or raised grain and gives you a glass-smooth surface for painting. Wipe clean with a tack cloth again afterward.
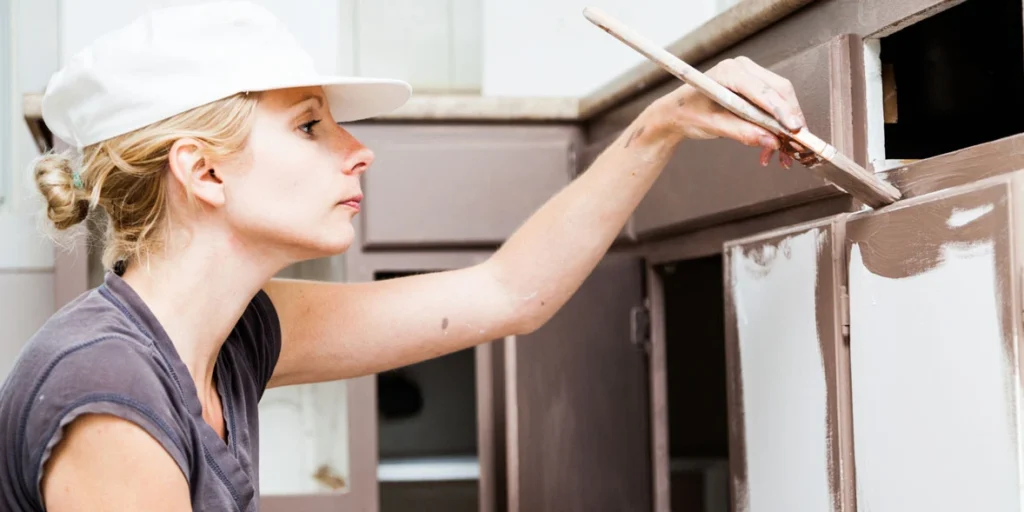
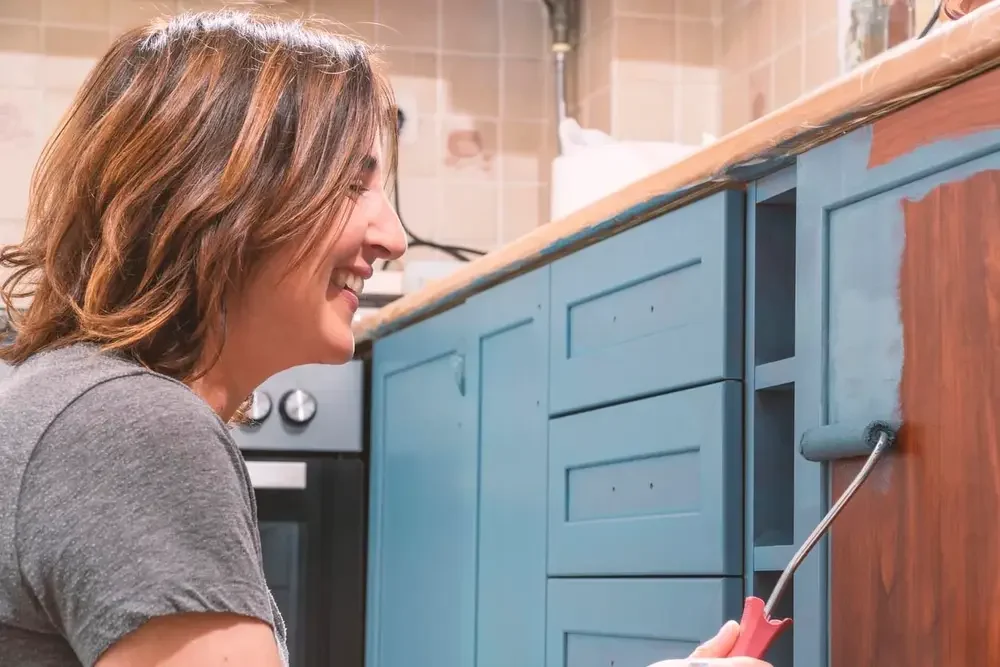
Step 7: Apply Your First Coat of Paint
Thin coats are key. Thick coats drip and dry with texture. Use a foam roller for flat surfaces and a brush for detail areas and edges. Work in the direction of the wood grain. Start with door backs, then the box interiors, then the door fronts last. This way, any drips land on surfaces you haven’t finished yet.
When it comes to painting cabinets, patience here pays off in the final look.
Step 8: Sand Between Coats
Let each coat dry fully and check your paint can for timing. Lightly sand with 220-grit paper between every coat. This keeps the surface smooth and helps each coat bond to the last one. Wipe with a tack cloth before applying the next coat.
Step 9: Apply the Final Coat and Reassemble
Two to three coats is usually enough for full coverage. After your final coat, let the paint cure for at least 72 hours before reassembling longer in humid or cold conditions. Reattach doors using your labels, install new or cleaned hardware, and you’re done. This is kitchen cabinet painting done right.
You may also read: Is $10000 Enough for a Kitchen Remodel?
Pro Tips to Get a Smooth, Professional Finish
- Paint doors horizontally on sawhorses to avoid drips
- Use a paint sprayer for the smoothest result no brush marks
- Work in a dust-free space to prevent particles sticking to wet paint
- Paint between 60°F and 85°F for best results
- Lightly distress edges after painting for a designer look
- Apply a clear topcoat for extra durability in high-use areas
Common Mistakes to Avoid When Painting Cabinets
Even experienced DIYers make these mistakes. Know them before you start.
- Skipping the degreasing step — paint won’t stick to greasy surfaces
- Using the wrong primer — always use bonding primer on cabinets
- Applying paint too thick — causes drips and uneven drying
- Not sanding between coats — results in a rough, bumpy finish
- Reassembling before paint fully cures — doors stick and pull paint off
- Using wall paint instead of cabinet-grade paint — not durable enough
How Long Does It Take to Paint Kitchen Cabinets?
For an average kitchen with 20 to 30 cabinet doors, expect the full project to take 3 to 5 days.
- Day 1: Remove doors, clean, fill holes, sand, and prime
- Day 2: Let primer cure, lightly sand, apply first coat of paint
- Day 3: Sand, apply second coat
- Day 4: Apply final coat if needed
- Day 5+: Cure time before reassembling
Don’t rush the curing phase. Fresh paint looks dry but isn’t fully hardened. Hang the doors too soon and you’ll get sticky cabinets that pull paint right off the frame.
What Is the Best Paint for Kitchen Cabinets?
Not every paint is made for kitchen cabinet painting. You need something durable, washable, and resistant to moisture and grease.
Best options:
- Alkyd (oil-based) paint — extremely hard finish, very durable, slow dry time
- Water-based alkyd — best of both worlds, dries faster, easy cleanup
- 100% acrylic cabinet paint — good durability, water-resistant, widely available
Finish matters too. Semi-gloss and satin are the most practical for kitchens easy to wipe clean. Flat or matte finishes look beautiful but stain easily and are hard to wash without leaving marks.
Trusted brands include Benjamin Moore Advance, Sherwin-Williams Emerald Urethane Trim Enamel, and Behr Alkyd Semi-Gloss.
How Much Does It Cost to Paint Kitchen Cabinets?
DIY kitchen cabinet painting typically costs between $200 and $600 in materials for an average kitchen.
- Cabinet primer: $30–$60 per gallon
- Cabinet paint: $40–$80 per gallon
- Brushes, rollers, tape, drop cloths: $50–$100
- New hardware (optional): $50–$200
Hiring a professional costs between $1,000 and $4,000+ depending on kitchen size and location. Compared to full cabinet replacement at $8,000 to $25,000, even professional painting saves you a lot.
Can You Paint Over Already Painted Cabinets?
Yes but only with proper prep. If the existing paint is peeling or flaking, scrape it off and sand before repriming. If it’s solid and in good shape, clean thoroughly, sand lightly, and apply a bonding primer before your new coats.
Painting over a glossy surface without sanding will cause the new paint to peel. Always degloss before you repaint kitchen cabinets.
When Should You Hire a Professional Cabinet Painter?
Not every job makes sense as a DIY project.
Consider hiring a pro when:
- You have a large kitchen with 40+ cabinet doors
- Your cabinets have intricate details or carvings
- You want a spray-applied finish that rivals factory quality
- You’ve had a previous paint job fail and don’t want to repeat it
- You simply don’t have 3 to 5 days to commit to the project
If you’re in New York, Prestigious Custom Cabinets offers professional Kitchen Cabinet Painting Services in North Lindenhurst that deliver factory-quality finishes without replacing your existing cabinets. Their team handles the prep, the paint, and the cleanup so you get a beautiful kitchen without the stress of doing it yourself.
Conclusion
Learning how to paint kitchen cabinets properly takes a little time upfront but the results are worth it. Clean prep, the right primer, quality cabinet paint, and patience between coats will give you a finish that holds up for years.
If you’re ready to take on the project yourself, follow the 9-step process above and don’t skip the prep. If you’d rather leave it to the experts, reach out to a trusted professional in your area. Either way, your kitchen is about to look a whole lot better.
FAQs
Do I need to remove cabinet doors to paint them?
Yes. Removing doors gives you better access to all surfaces and prevents drips and uneven coverage. Painting in place works in a pinch, but removing doors always produces better results.
What primer should I use for kitchen cabinet painting?
Use a bonding primer either shellac-based or oil-based. Both provide strong adhesion and block stains. Water-based primers are fine for already-painted surfaces in good condition but may not grip as well on raw or laminate surfaces.
Can I paint wooden kitchen cabinets without sanding?
You technically can, but you shouldn’t. Sanding gives the primer something to grip. Without it, paint is more likely to chip and peel within a year. If you want to paint wooden kitchen cabinets and have them last, sanding is not optional.
How long does cabinet paint take to fully cure?
Most cabinet-grade paints are touch dry in 2 to 4 hours and fully dry in 24 hours. But full cure when the paint reaches maximum hardness takes 7 to 30 days. During that window, be gentle with the surfaces.
Is it better to brush, roll, or spray paint my cabinets?
A sprayer gives the smoothest results no brush marks, no roller texture. A foam roller works well on flat surfaces. Use a brush for edges and recessed panels. Many pros combine a sprayer and brush for the best finish.
How many coats of paint do kitchen cabinets need?
Two coats is the minimum for solid coverage. Three coats are ideal for a rich, even finish especially with lighter colors going over a darker base. Always apply thin coats and sand lightly between each one.