

New kitchen cabinets can cost thousands. But with basic tools and a free weekend, you can build solid, good-looking cupboards yourself. It takes some planning, a bit of patience, and the right steps. The result? Custom storage that fits your exact kitchen and your budget.
This guide walks you through how to build kitchen cupboards from scratch. Whether you are trying DIY kitchen cupboards for the first time or you have some woodworking experience, these steps will help you get it right.
Why Build Your Own Kitchen Cupboards?
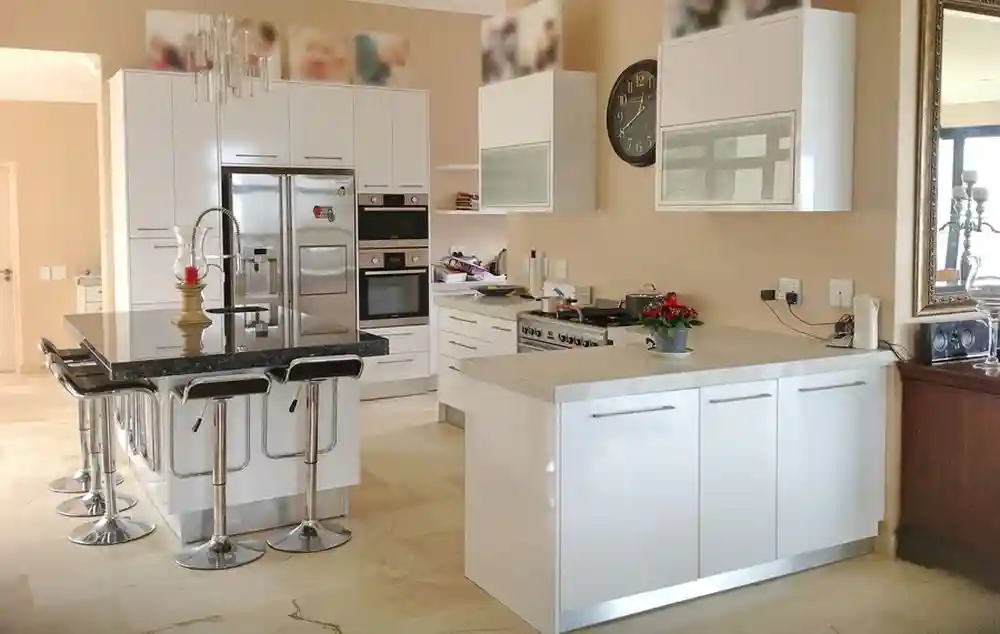
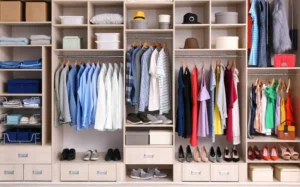
Store-bought cabinets look nice, but they rarely fit perfectly. Your kitchen has its own layout, corners, and dimensions. Building your own gives you full control over size, style, and finish.
Here is why many homeowners go the DIY route:
- Cost savings of 40 to 60 percent compared to buying pre-made cabinets
- Custom sizes that fit awkward walls, low ceilings, or corner spaces
- Full choice of wood type, door style, and finish
- Higher quality build when you use solid materials
- A project you can be proud of for years
If you enjoy working with your hands, making kitchen cupboards is a rewarding and practical project.
Tools and Materials You Will Need
Before you start cutting wood, get everything ready. Missing a tool halfway through is frustrating and slows you down.
Tools
- Circular saw or table saw
- Drill and drill bits
- Pocket hole jig (Kreg jig is popular)
- Tape measure and pencil
- Clamps
- Level and square
- Sander (orbital or belt)
- Nail gun or finish nailer
- Router (optional, for edge detail)
Materials
- 3/4 inch plywood (cabinet-grade birch or maple is best)
- 1/4 inch plywood for the cabinet back panel
- 1×3 or 1×4 hardwood boards for the face frame
- Wood glue and pocket screws
- Hinges and cabinet pulls
- Shelf pins and adjustable shelves
- Paint, stain, or finish of your choice
Pro tip: Buy a little extra material. Mistakes happen, and you do not want to make a store run in the middle of your build.
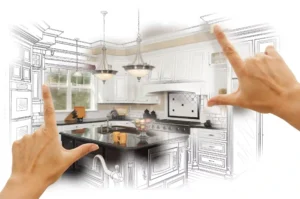
Plan and Measure Your Kitchen
Good kitchen cupboard plans start with precise measurements. This step is the most important one. A measurement that is off by even a quarter inch can cause big problems later.
Here is how to do it right:
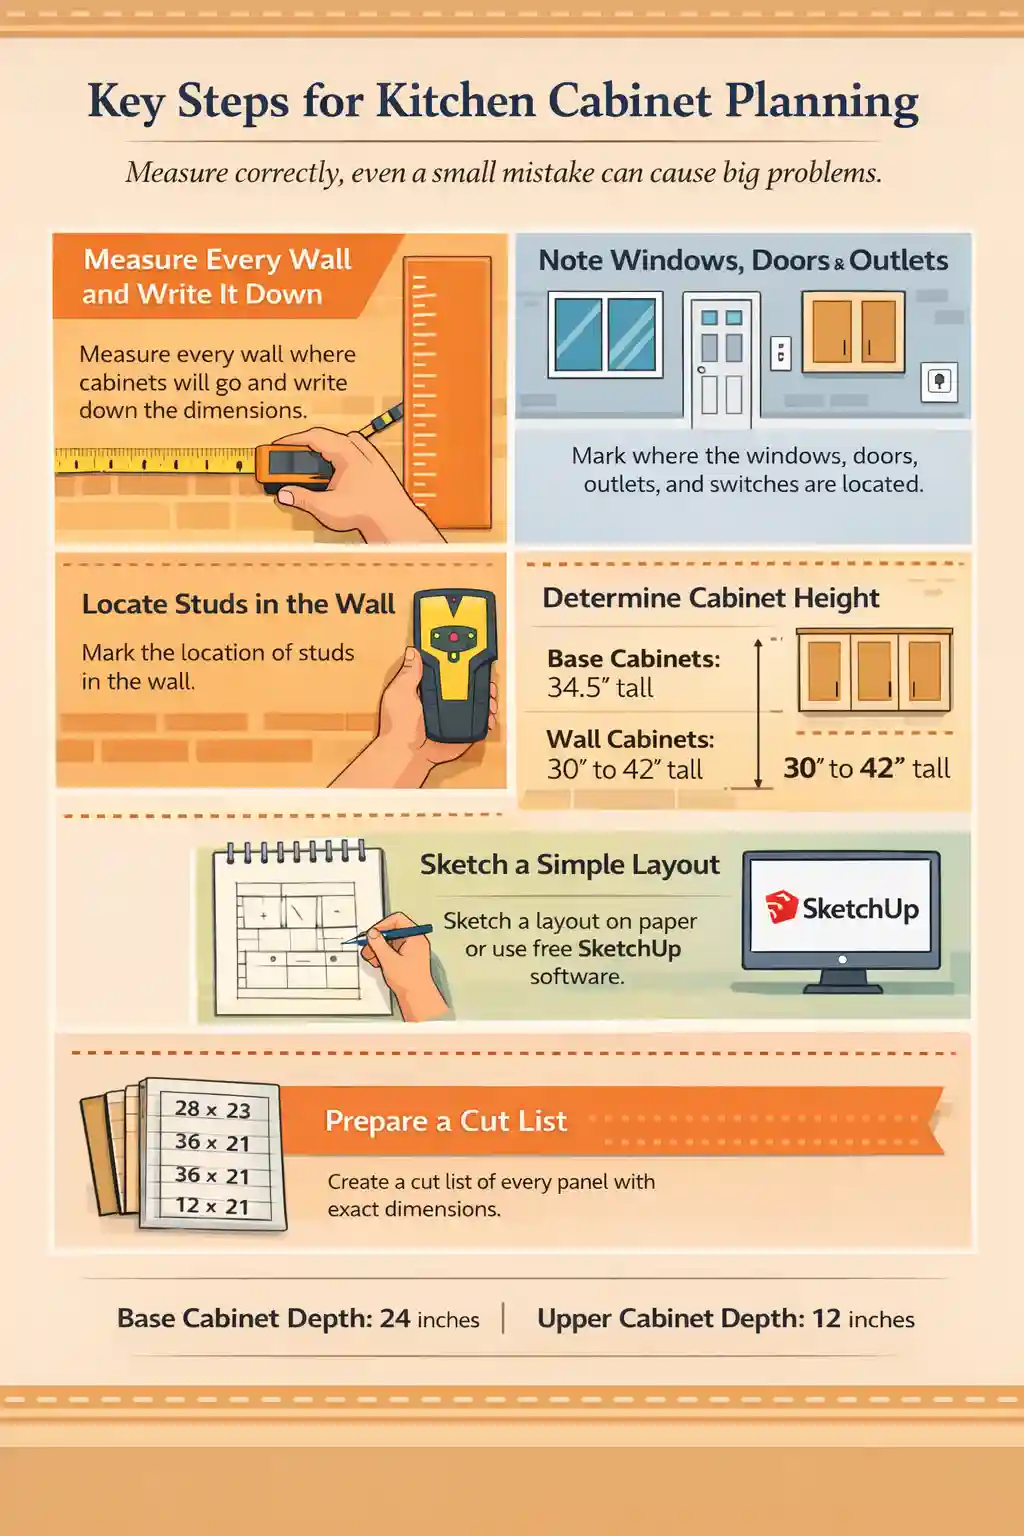
- Measure every wall where cabinets will go. Write it all down.
- Note the location of windows, doors, and outlets.
- Mark where your studs are in the wall (you will need them for mounting).
- Decide on your cabinet height. Standard base cabinets are 34.5 inches tall. Wall cabinets are usually 30 to 42 inches tall.
- Sketch a simple layout on paper or use free software like SketchUp.
Standard kitchen cabinet depth is 24 inches for base cabinets and 12 inches for uppers. You can adjust these to fit your space. This is one advantage of building your own over buying pre-made.
Once your plan is done, create a cut list. This is a list of every panel you need with its exact dimensions. A good cut list saves time and reduces waste.
Cut the Cabinet Panels
With your cut list ready, it is time to cut your plywood. Work on a flat surface. Measure twice, cut once.
Each cabinet box needs these panels:
- Two side panels
- One top panel
- One bottom panel
- One back panel (1/4 inch plywood)
- Shelf panels if needed
Use a guide rail or fence on your saw for straight cuts. Plywood can splinter on the cut edge. To avoid this, put masking tape along your cut line before sawing. It gives a cleaner edge.
Label each panel with a pencil as you cut. This keeps things organized when you get to assembly. One mistake beginners make is mixing up similar-sized pieces.
Assemble the Cabinet Box
This is where the project starts to take shape. Cabinet box assembly uses a method called pocket hole joinery. It is strong, fast, and beginner-friendly.
Follow these steps:
- Drill pocket holes into the top and bottom panels using your pocket hole jig.
- Apply a thin line of wood glue to the joint area.
- Clamp the top panel between the two side panels. Make sure it is square.
- Drive pocket screws through the holes to lock the joint.
- Repeat for the bottom panel.
- Check the box with a square. It must be perfectly square or the doors will not hang right.
- Nail or staple the 1/4 inch back panel on. This makes the box rigid.
Let the glue dry for at least an hour before moving the box. This gives you a solid, strong cabinet shell.
Build and Attach the Face Frame
A face frame is the border of wood that goes on the front of the cabinet box. It gives the cabinet a finished look and a place to attach hinges.
To build the face frame:
- Cut your 1×3 hardwood into stiles (vertical pieces) and rails (horizontal pieces).
- The stiles run the full height of the cabinet. Rails go between them at top and bottom.
- Use pocket holes to join the rails to the stiles.
- Glue and clamp the assembled frame to the front of the cabinet box.
- Nail through the frame into the cabinet box for a stronger hold.
The face frame should be flush with the inside of the cabinet box. If it overhangs even slightly, it can affect how the door sits. Take your time here.
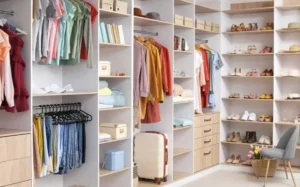
Install Shelves
Adjustable shelves are more useful than fixed ones. They let you store tall bottles, small jars, or whatever you need.
To install adjustable shelves:
- Drill rows of 5mm holes on the inside of each side panel. Use a shelf pin jig for even spacing.
- Space the holes about 1 inch apart for maximum flexibility.
- Cut your shelf panels to fit with a small gap on each side (about 1/8 inch).
- Insert shelf pins and drop the shelf in. That is it.
For shelves that will hold heavy items like cast iron pans, use solid 3/4 inch plywood. Thin shelves will sag over time under heavy loads.
Add Cabinet Doors
Cabinet doors are what people see first. There are two main styles: inset doors (sit inside the frame) and overlay doors (cover the frame). Overlay doors are easier for beginners.
You have two options for doors:
- Build them from 3/4 inch plywood and add edge banding for a clean look.
- Buy pre-made doors in your chosen style. This saves time and still looks great.
To hang the doors, use soft-close hinges. They are easy to adjust and prevent slamming. Here is the process:
- Drill a 35mm hole in the door for the hinge cup using a Forstner bit.
- Clip the hinge into the cup and screw it down.
- Attach the hinge plate to the inside of the cabinet frame.
- Hang the door and use the built-in adjustments to get it perfectly level.
This is also the stage where your DIY kitchen cupboard ideas really come to life. You can add glass panels, shaker-style details, or carved edges depending on your skill level.
Sand, Paint, or Stain Your Cabinets
This step changes the look completely. A rough cabinet becomes a smooth, finished piece with the right prep and finish.
Follow this finishing process:
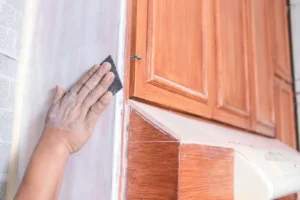
- Sand with 120-grit sandpaper to remove rough spots.
- Wipe off all dust with a damp cloth. Let it dry.
- Apply wood filler to any gaps or holes. Let dry and sand again with 150-grit.
- Apply a primer coat if painting. This helps paint stick and last longer.
- Apply two coats of paint or stain, sanding lightly between coats with 220-grit.
- Finish with a clear topcoat for protection. This is important in a kitchen where there is heat and moisture.
White and off-white are popular for kitchens. But natural wood stains are making a comeback. Pick what matches your kitchen style.
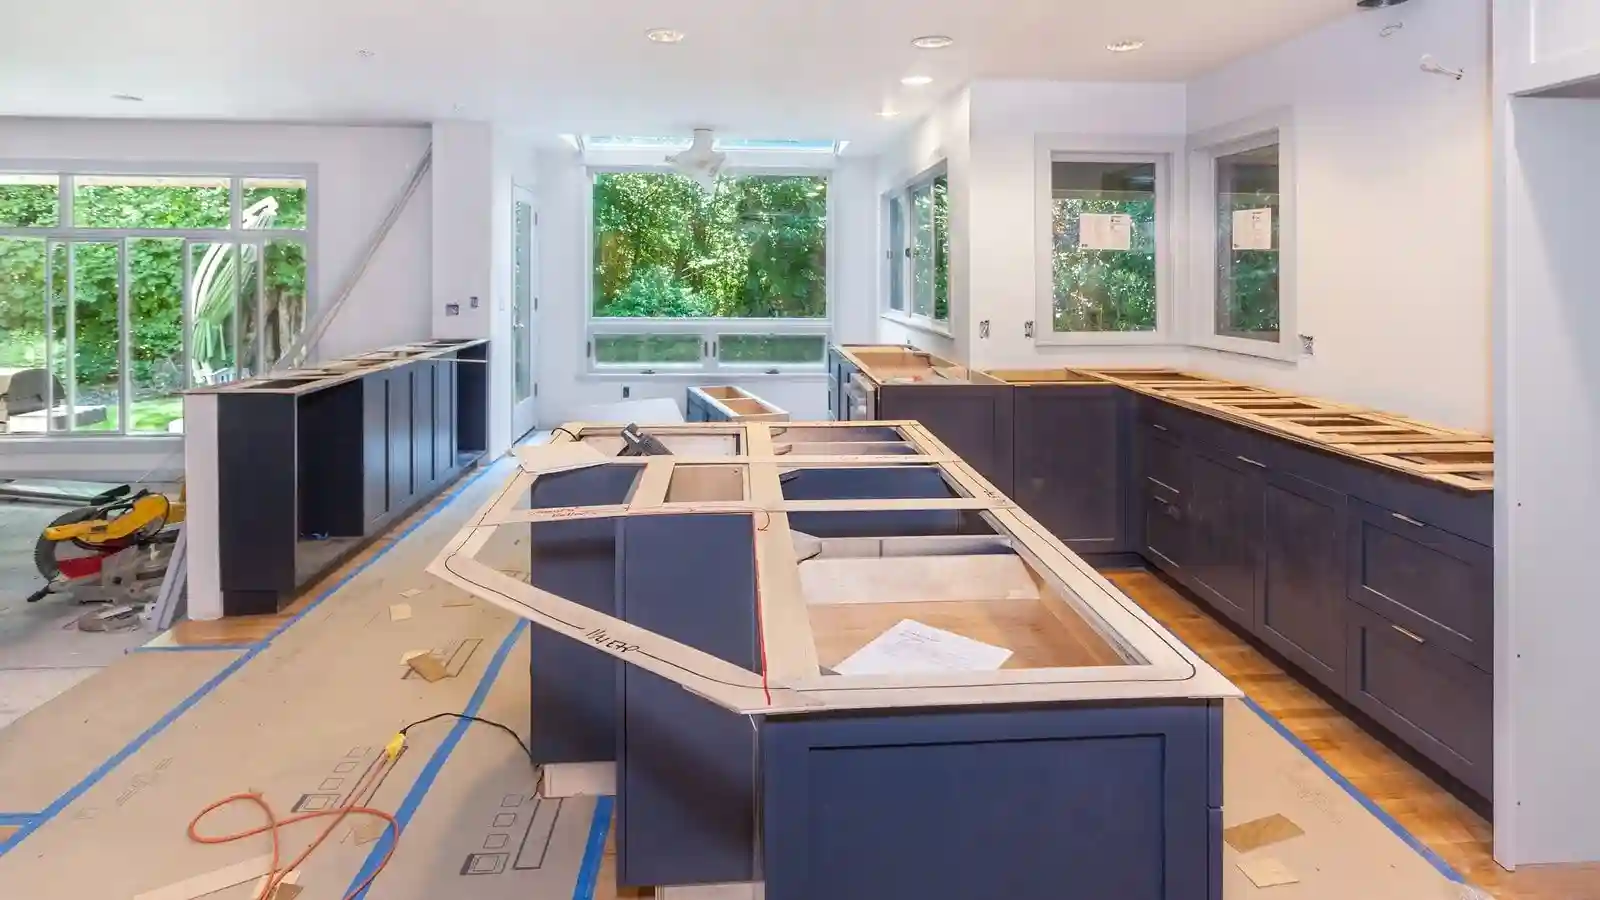
Install the Kitchen Cupboards
Now for the big moment. Installing your cupboards correctly means they will stay safe, level, and strong for years.
Installing Wall Cabinets First
- Draw a level line on the wall where the bottom of the upper cabinets will sit.
- Find your wall studs with a stud finder. Mark them clearly.
- Have a helper hold the cabinet in place while you drive screws through the back and into the studs.
- Use at least two screws per stud. Wall cabinets hold a lot of weight.
- Check each cabinet with a level before moving on.
Installing Base Cabinets
- Find the highest point of your floor with a level. This is where you start.
- Set the first cabinet at that point and shim it level if needed.
- Clamp adjacent cabinets together and screw them to each other through the face frames.
- Screw base cabinets into the wall studs through the cabinet back or a mounting rail.
- Trim any shims flush with the cabinet and cover gaps with toe kick panels.
After all cabinets are in, hang the doors back on, add hardware, and install the countertop. Your kitchen is almost done.
Tips for Building Strong Kitchen Cupboards
These tips come from real experience. They make the difference between a cabinet that lasts 10 years and one that lasts 30.
- Always use cabinet-grade plywood. Construction plywood is uneven and hard to finish.
- Check for squares at every stage. Twisted boxes cause crooked doors.
- Glue and screw every joint. Never rely on screws alone.
- Use a pocket hole jig for clean, strong joints that are easy to assemble.
- Sand between every coat of finish. This creates a smooth, professional look.
- Pre-drill all screw holes to avoid splitting the wood.
- Use soft-close hinges and drawer slides. They feel better and reduce wear.
- Seal the inside of the cabinets too. Moisture can get inside and cause swelling.
One more thing: do not rush the planning phase. Most building problems trace back to a measurement issue or skipped step in the plan.
What Wood Works Best for Kitchen Cupboards?
The wood you pick affects durability, looks, and cost. Here are the most common choices:
- Birch plywood: Strong, smooth, and takes paint well. Best all-around for cabinet boxes.
- Maple: Very hard and durable. Great for face frames and doors.
- Oak: Classic look with strong grain. Popular in traditional kitchens.
- MDF: Affordable and smooth for painting. Not ideal in high-humidity areas.
- Poplar: Light and easy to work with. Good for painted cabinets on a budget.
For most people doing DIY kitchen cupboards, birch plywood for the boxes and maple or poplar for the face frames is the best combination.
Common Mistakes to Avoid When Making Kitchen Cupboards
First-time builders often make the same few errors.
Here is how to avoid them:
- Skipping the cut list: Working from memory leads to wasted wood and wrong sizes.
- Not checking for level: Floors and walls are rarely perfectly flat. Always use a level.
- Cheap hardware: Hinges and slides wear out fast if they are low quality. Spend a little more here.
- Rushing the finish: An uneven paint job makes even good cabinets look bad.
- Ignoring the toe kick: This small panel at the bottom of base cabinets matters a lot for looks.
- Not sealing all sides of the wood: Unfinished edges absorb moisture and swell over time.
Making kitchen cupboards is very doable. But it is also something that rewards careful, patient work.
How Long Does It Take to Build Kitchen Cupboards?
For a typical kitchen with 10 to 15 cabinet boxes, expect to spend:
- Planning and measuring: 2 to 4 hours
- Cutting panels: 4 to 6 hours
- Assembly: 1 to 2 days
- Finishing and painting: 1 to 2 days (including drying time)
- Installation: 1 full day
So plan on a full weekend for a small kitchen or two weekends for a larger one. Working with a partner makes everything faster.
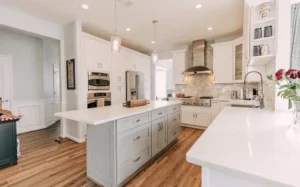
Final Thoughts
Knowing how to build kitchen cupboards gives you real power to transform your kitchen without spending a fortune. With good plans, the right tools, and a bit of patience, the results can look just as good as anything you would buy at a showroom.
From measuring and cutting to assembling, finishing, and installing, every step builds on the one before. Take your time at each stage and you will end up with sturdy, beautiful cabinets that fit your kitchen perfectly.
If you prefer professional help or want custom cabinet work done right the first time, Prestigious Custom Cabinets offers expert Kitchen Cupboards Services in North Lindenhurst. From design to installation, the team handles everything so you get the kitchen you want without the stress.
Frequently Asked Questions (FAQs)
Is it cheaper to build your own kitchen cupboards?
Yes, in most cases. Building your own can save 40 to 60 percent compared to buying pre-made or custom-ordered cabinets. Your main costs are materials and hardware. Labor is your own time.
What tools do I absolutely need to build kitchen cupboards?
At minimum, you need a circular saw or table saw, a drill, a pocket hole jig, clamps, a tape measure, and a level. A sander and nail gun are also very helpful.
What type of plywood is best for kitchen cabinet boxes?
Cabinet-grade birch plywood (3/4 inch) is the best choice for most people. It is strong, smooth, and holds screws well. Avoid OSB or standard construction plywood for cabinet boxes.
Do I need to be an expert carpenter to build kitchen cabinets?
No. Many first-time builders successfully complete DIY kitchen cupboards using a pocket hole jig and basic tools. The key is careful planning and following steps in order. Start simple and build your confidence.
Can I use MDF for kitchen cabinets?
MDF works for painted cabinet doors and face frames but is not ideal for the box in a kitchen setting. It does not handle moisture well. Stick to plywood for the box structure.
How do I make sure my cabinets are level during installation?
Use a long level and find the highest point on your floor before you start. Use shims under base cabinets to make them level. For wall cabinets, draw a level line on the wall and mount a temporary ledger board to support them while screwing in.
What is the standard height for kitchen wall cabinets?
Wall cabinets are usually installed 18 inches above the countertop. The bottom of the cabinet sits about 54 inches from the floor. Cabinet height can range from 30 to 42 inches depending on your ceiling height.