
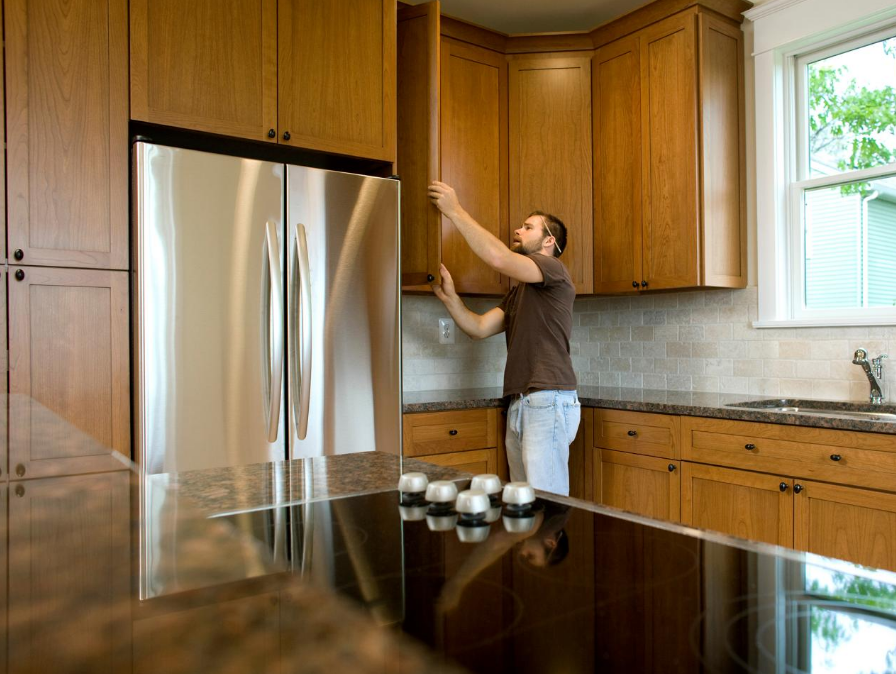
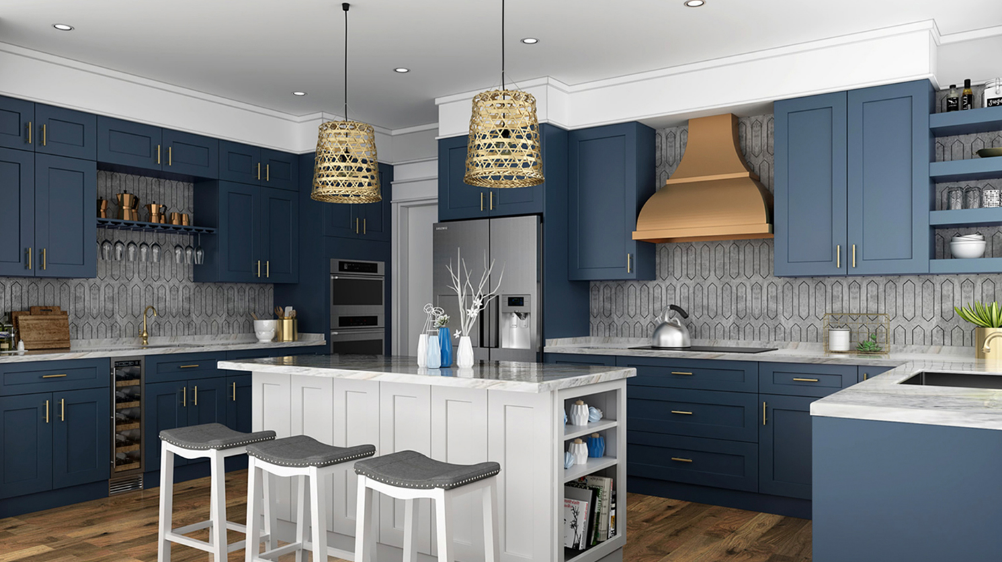
5 Tips For Kitchen Cabinet Installation
One of the finest ways to raise the value of your house is by updating the kitchen. The look and feel of your kitchen may be radically revitalized by just replacing your kitchen cabinets. Kitchen cabinet installation may be challenging. Aside from sometimes shimming and trimming to improve fit, you must ensure that all of the cabinets are level and plumb.
Almost everything can be installed according to one basic principle: If you get the first item in the appropriate place, the others will follow. However, if you lose the initial component, you’ll probably have a lot of headaches as you try to finish the project. You’ll find that installing kitchen cabinets is rather straightforward if you have the correct equipment, make the necessary preparations, and get expert assistance.
Kitchen cabinet installation services shouldn’t be difficult for an experienced DIYer to build their kitchen cabinets. Hiring a kitchen cabinet services specialist who is experienced, however, is considerably simpler and takes much less time.
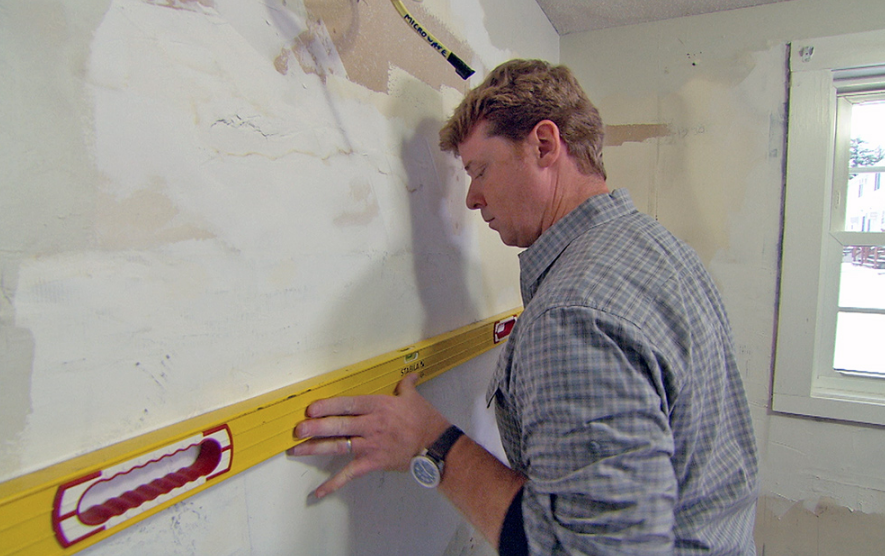
1. Decide The Highest Point
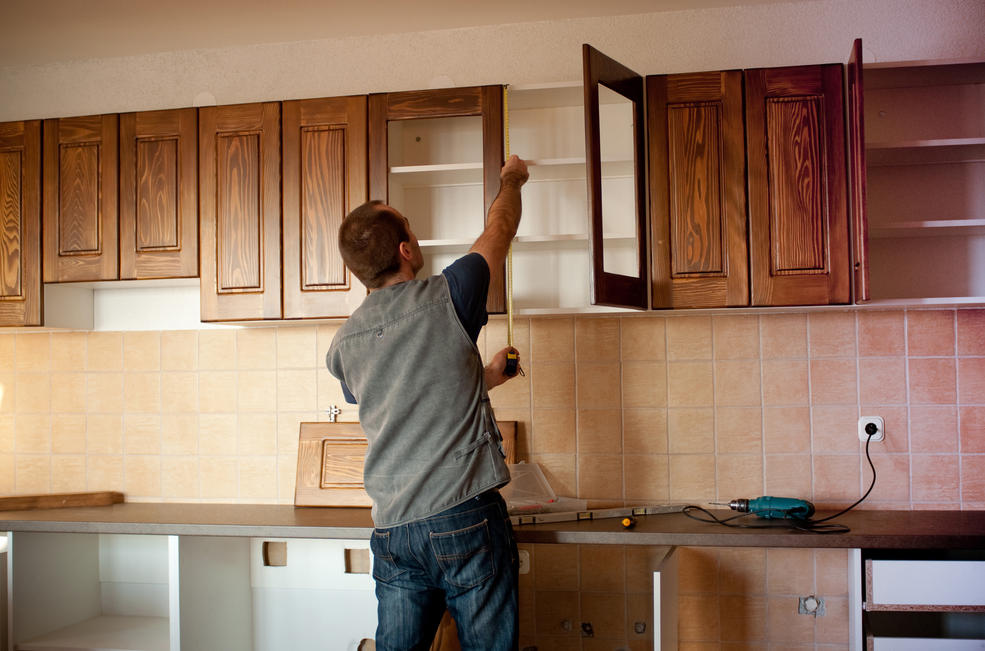
You won’t notice how crooked the base cabinets seem compared to the level top cabinets or the contents rolling along behind closed doors if the floor is uneven since it will lead to uneven base cabinets. It may be at any height, but it is essentially a straight line that can be measured from and for the base and divider cabinets. From there, take multiple measurements down to the floor. As it is simpler to add height to a cabinet than to take it away later in the process, you will shim cabinets up to this height.
2. Place A Mark On The Wall
Measure the depth of the rear of your base cabinets starting at the highest point of the floor, then mark the wall with that measurement. Where base cabinets will be, continue a level mark and extend a horizontal line around the space.
Each cabinet box’s placement on the wall should be measured, marked, and labeled. Remember that the cabinet-facing frames on the front of the cabinet extend above the cabinet box on each side when drawing outlines and dimensions on the wall. There will be a gap at the rear of the cabinets where the face frames of the cabinets will meet.
On the line you placed to your wall for base and wall cabinets, screw a supporting strip using a furring strip to start the installation process. This will aid in supporting the cabinets and maintaining their level.
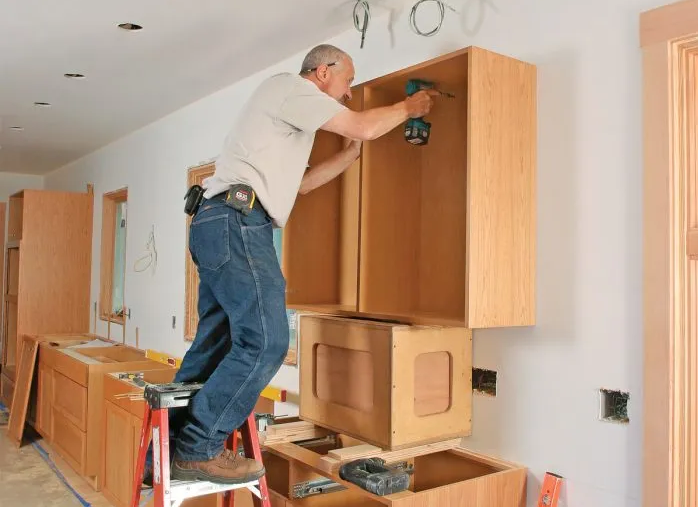
3. Start By Installing Corner Cabinet
Install shims beneath the base cabinets so that their top edge touches the first horizontal line you drew before positioning them against the wall where they will be installed. Filler strips may be required to fill the space between the base cabinets and the wall in cases when the wall is not square.
To shim underneath the cabinets at stud locations, use wood solution, which is frequently available to buy from the same place you purchased the cabinets. Once the pilot holes are drilled and countersunk, use 2.5-inch screws to secure the cabinets into the studs via the filler strip.
4. Start Plumb and Remain As Such
Whether it’s brand-new construction or a 200-year-old ancient home for the kitchen cabinet restoration project, out-of-square walls and uneven floors appear to be a reality of life. Your solution can be leg levelers, creating a box platform, or just using plenty of shims. In this situation, staging won’t be helpful unless the uneven walls and floor there have been recreated.
Most kitchen cabinet installation services tasks are easier when done neatly, but a redesign of an existing home is one exception. Bring covering material to protect the carpets in the entrance and exit areas. Make sure all installers exclusively utilize that entrance to the work area because it will be the least disruptive and straightforward. On all power tools, use dust collection, and take great care to tidy up after each day.
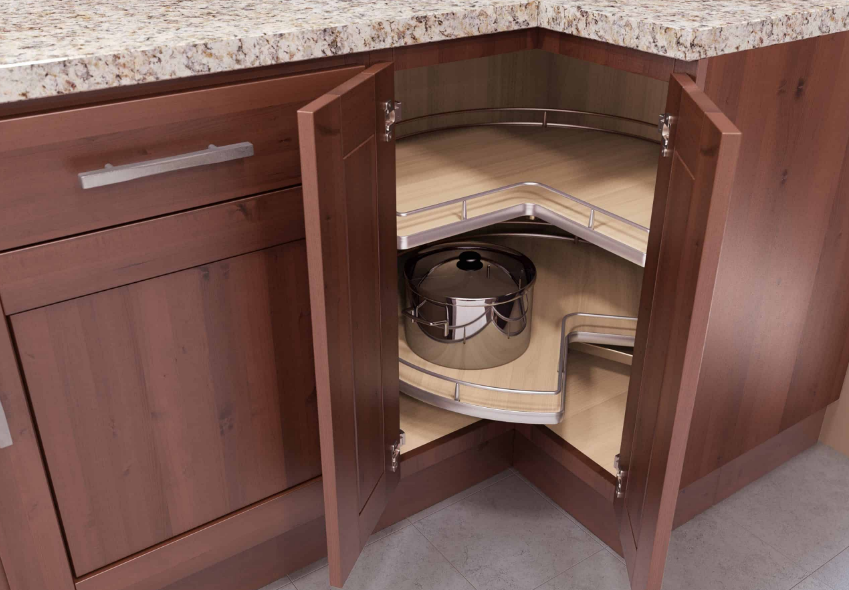
5. Apply Crown, Scribe, Toe Kick, And Finishing Moulding After Installing the Base And Wall Cabinets
Last to be installed are the moldings. Your cabinets’ front frames will be covered with some light rules, and the remaining ones will be installed below the frame. Before you start, make sure the cabinets and the ceiling are ready for the crown molding installation.
These must be manufactured to precisely match the requirements of the kitchen cabinet being fitted. After the handles are placed, the bulk of the panels must slip in behind a flange. Make sure none of the cabinets was harmed once the installation is finished, whether it was done by you or experts, which is frequently a better alternative.
These directions are based on typical techniques for installing kitchen cabinets. In addition to what is described here, the instructions could also incorporate hardware or techniques.